
Last updated October 16, 2026
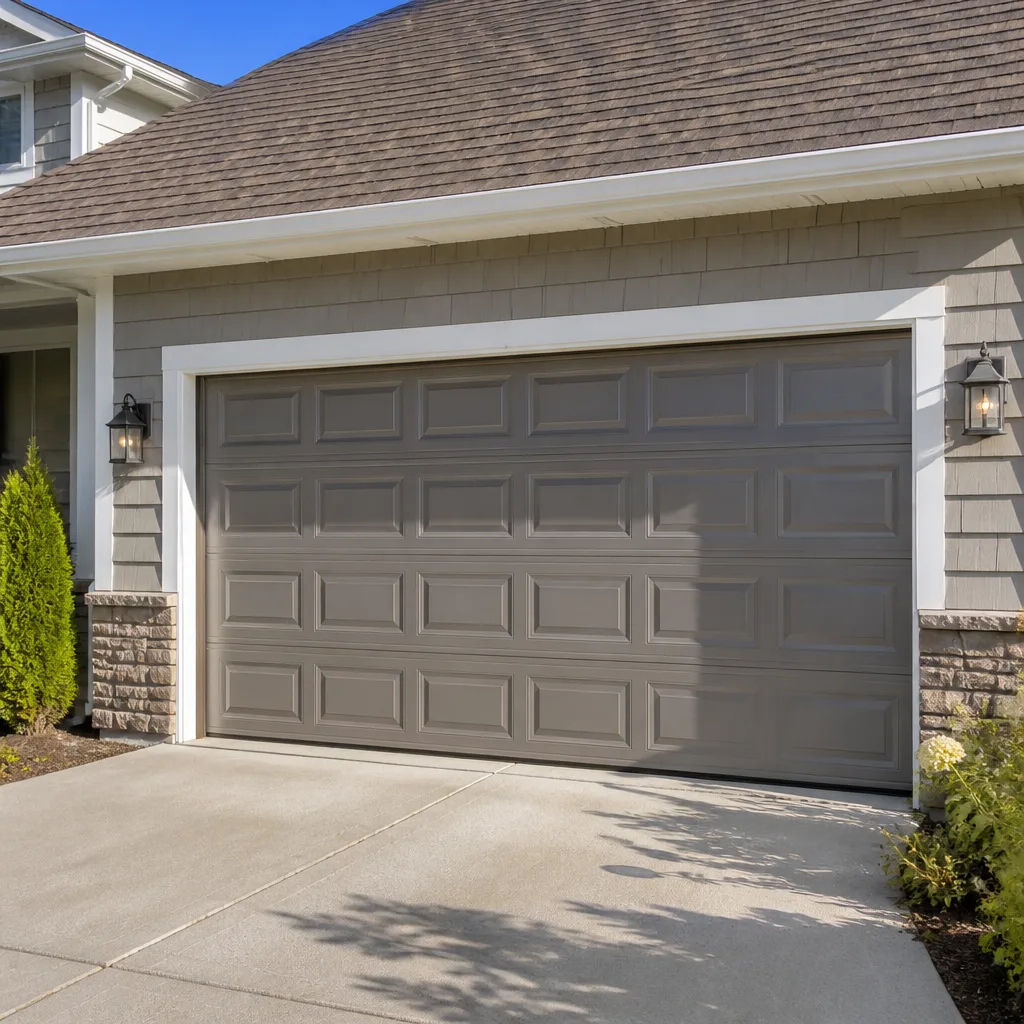 Raised-panel steel
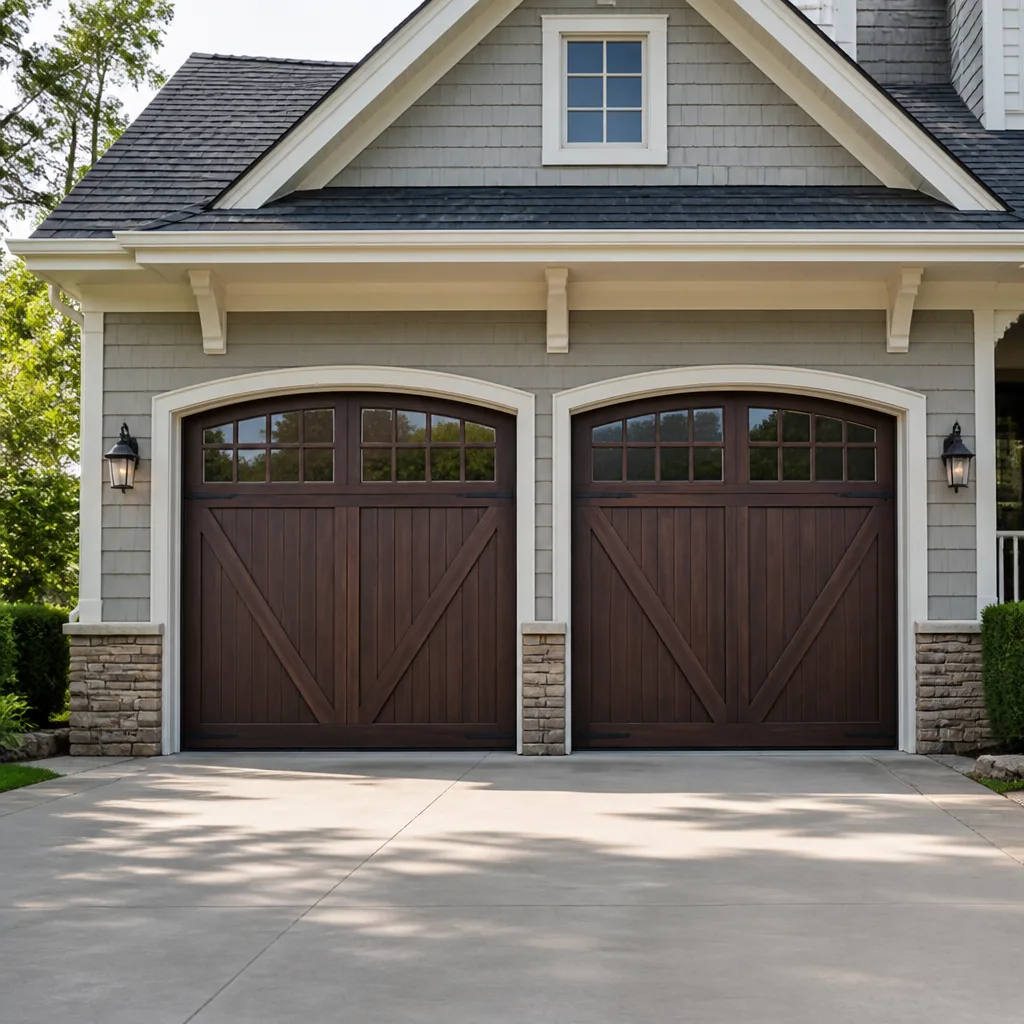 Carriage house
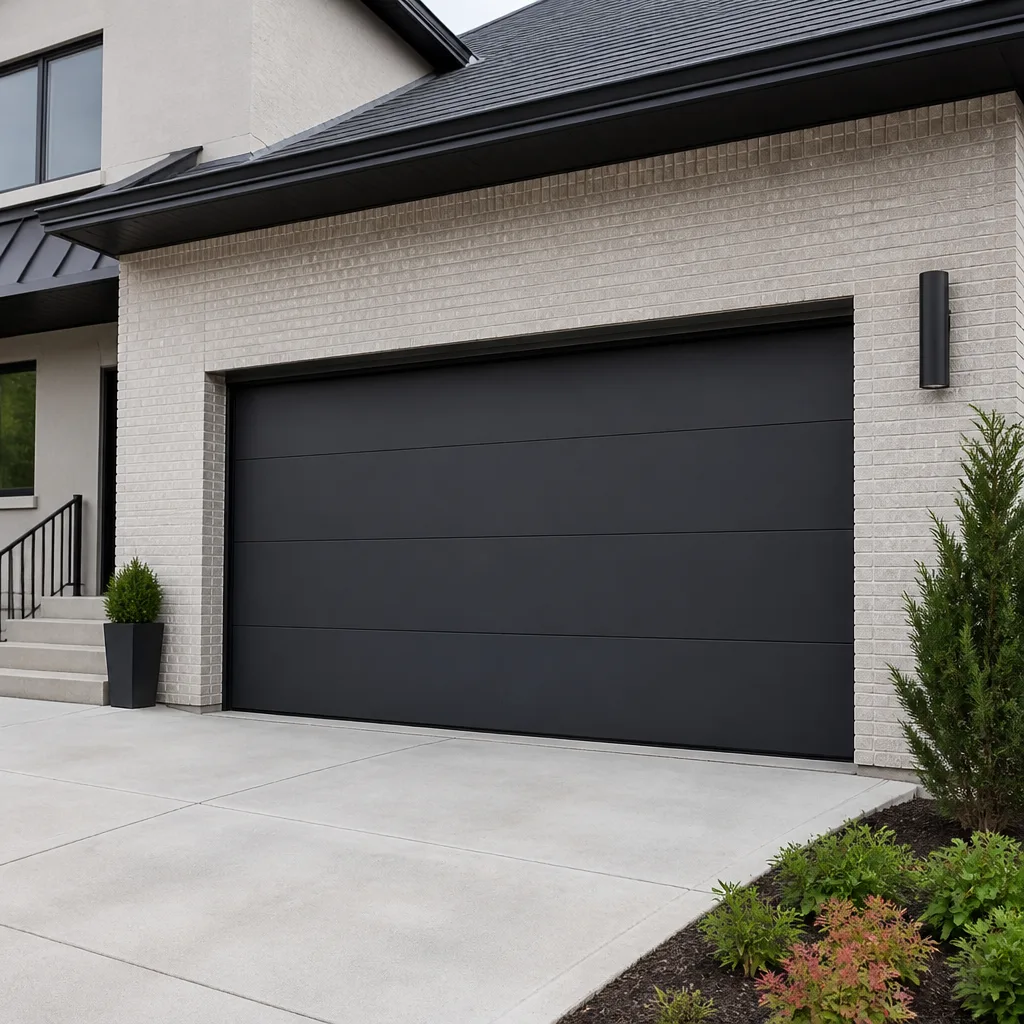 Modern flush
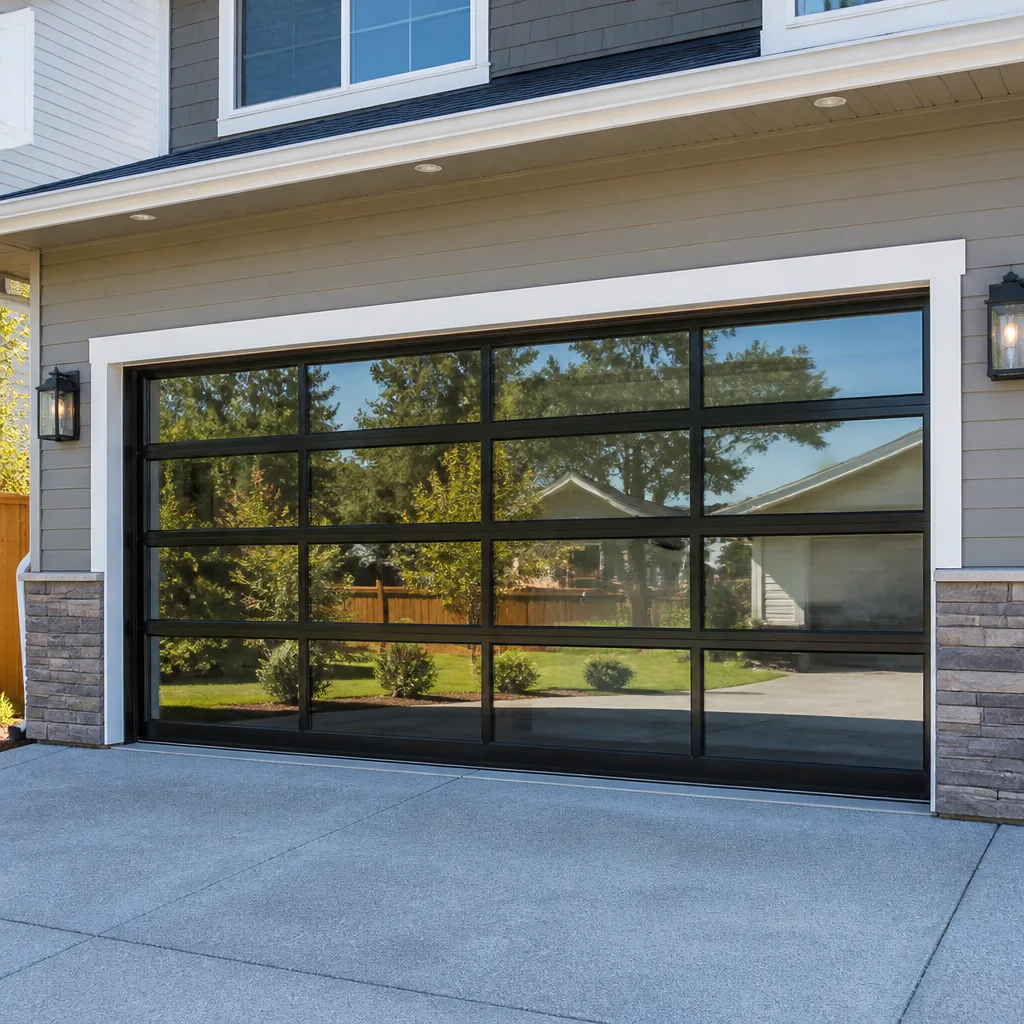 Full-view glass
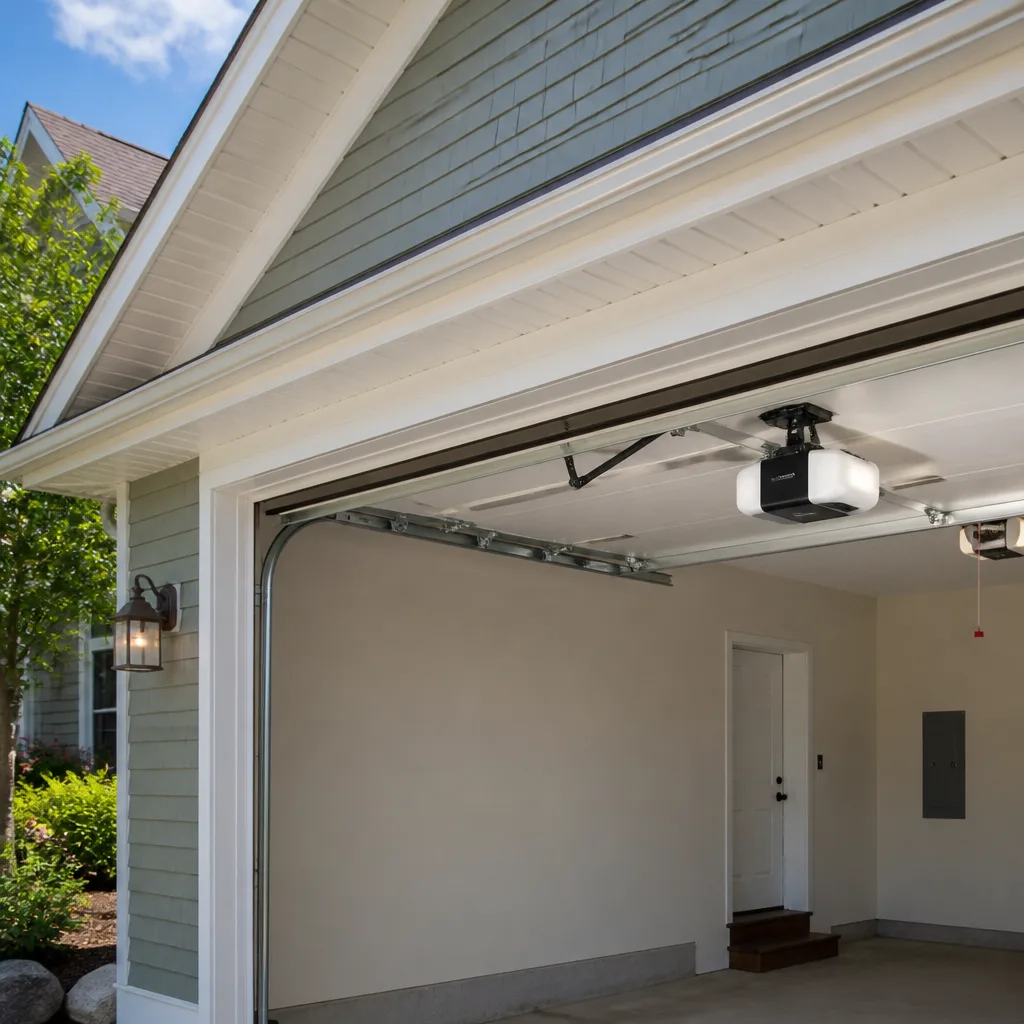 LiftMaster openers
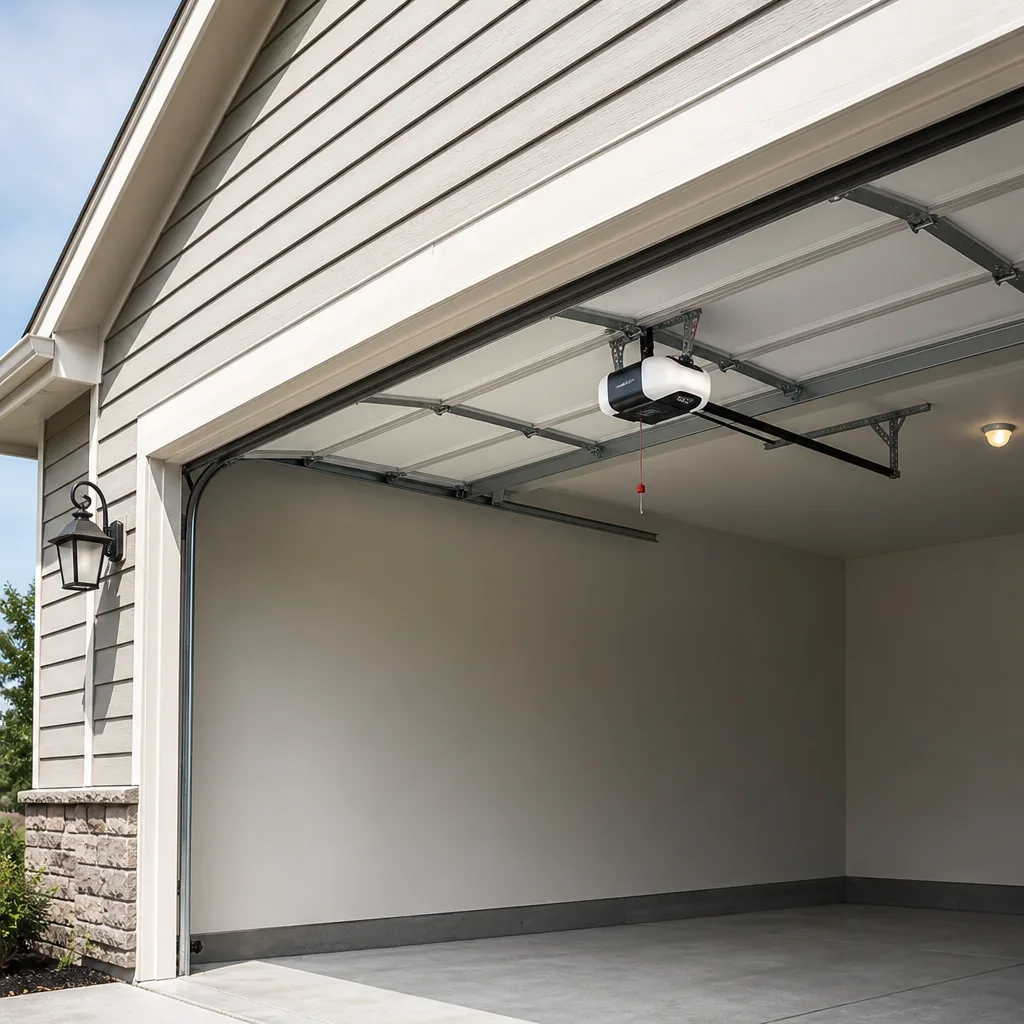 Chamberlain openers
Full 25-point door and opener safety check with every visit - springs, cables, rollers, tracks, and your LiftMaster or Chamberlain opener included
You get a price before we start. It does not change when the truck arrives.
Get your free estimateDIY vs Professional Garage Door: The Miami Homeowner’s Decision Guide
A torsion spring – the heavy coil mounted above your garage door that handles most of the lifting weight – stores enough tension to shatter bone when released incorrectly. That’s not a scare tactic. It’s a documented injury mechanism that sends roughly 20,000 Americans to emergency rooms every year. The real question for Miami homeowners isn’t whether you’re handy enough to fix a garage door. It’s whether the risk-to-savings ratio makes sense when a spring replacement here runs $250 – $450 and the ER visit runs significantly more. This guide gives you a straight answer on which tasks are genuinely safe to do yourself, which ones require a trained professional, and how Miami’s wind-load codes change the math entirely.
Styles & brands we work with
Quick Answer
Most Miami homeowners can safely handle four garage door tasks themselves: lubricating hinges and rollers, testing and aligning photo-eye sensors, replacing weather seals, and resetting limit switches on most opener models. Torsion spring replacement, cable work, and any structural panel repair on a hurricane-rated door should always go to a professional – not because you lack skill, but because the stored energy and Miami’s mandatory wind-load compliance requirements make DIY on those jobs dangerous and potentially costly during a home sale or insurance claim.
Table of Contents
- 4 Garage Door Tasks That Are Genuinely DIY-Safe in Miami
- 3 Tasks That Are Professional-Only – Regardless of Skill
- The Miami Compliance Trap: Wind-Load Codes and Your Insurance
- Honest Cost Comparison: DIY Parts vs. Professional Service in Miami
- Extension Springs vs. Torsion Springs: Why the YouTube Video Might Be Wrong
- Garage Door Opener Repair: What’s Actually DIY-Friendly
- Miami-Specific Maintenance: Salt Air, Humidity, and Hurricane Season
- Common Mistakes to Avoid
- When to Call a Professional
- Frequently Asked Questions
- The Bottom Line
4 Garage Door Tasks That Are Genuinely DIY-Safe in Miami
We’re not going to tell you every garage door repair requires a professional. That’s dishonest. There are four maintenance tasks that a careful Miami homeowner can do safely with about an hour of time and $30 in supplies. Here’s exactly what they are and how to do them correctly, and you can find more guides & resources on our blog.
1. Lubricating Hinges and Rollers
This is the single highest-value maintenance task for Miami homes, and it’s completely safe. Salt air from the Atlantic accelerates corrosion on metal components, and a squeaking door is usually just dry hardware. You’ll want a silicone-based lubricant – never WD-40, which displaces moisture but doesn’t actually lubricate long-term. Apply it to the hinge pins, the roller bearings, and the torsion spring itself (a light coat is all it needs). Do this twice a year, ideally in March before humidity spikes and in October after hurricane season ends.
2. Testing and Aligning the Photo-Eye Sensors
The photo-eye sensors are the two small units mounted about six inches off the ground on either side of the door track. They project an invisible beam that stops the door if a child, pet, or object crosses the path. Knock one out of alignment with a broom handle or a car bumper and the door will refuse to close, or worse, reverse halfway down. You can realign them yourself: loosen the wing nut on the sensor bracket, adjust the angle until the indicator light goes solid, and retighten. Need to test them? Place a cardboard box in the door’s path and try closing it. If the door doesn’t reverse, call someone who knows what they’re doing.
3. Replacing Weather Seals
The rubber strip along the bottom of your door – and the vinyl weatherstripping along the sides – are what keep Miami’s daily afternoon thunderstorms from soaking your garage floor. They crack and shrink within two to three years of sun exposure, and replacement is straightforward: pull the old seal out of the channel, slide the new one in, and trim it to length. A 16-foot replacement seal costs $20 – $40 at any Miami hardware store. This is the easiest DIY job on this list and one of the most cost-effective.
4. Resetting Limit Switches on Most Opener Models
The limit switch tells your opener where the door should stop moving – up and down. If your door slams shut or stops three inches short of the ground, the limit setting has drifted. On most LiftMaster and Chamberlain models (the two most common brands we service in Miami), you can adjust this with a flathead screwdriver and the owner’s manual. Turn the “down” or “up” limit screw a quarter turn at a time, test the door after each adjustment, and stop when the door closes flush with the floor without straining. If you’re adjusting more than two full turns without result, the issue isn’t the limit switch – it’s likely a worn gear or a problem with the travel module, and that’s beyond DIY territory.
These four tasks cover most of what a homeowner should attempt. Notice what they have in common: none of them involve components under stored tension, and none of them alter the structural integrity of the door. That’s the dividing line.
3 Tasks That Are Professional-Only – Regardless of Skill
Some jobs are dangerous because of the energy stored in the components. Some are dangerous because of what happens if you get it wrong and nobody inspects it. Here are the three tasks where we draw a firm line, and the specific reason each one belongs with a trained technician.
1. Torsion Spring Replacement (Stored Tension)
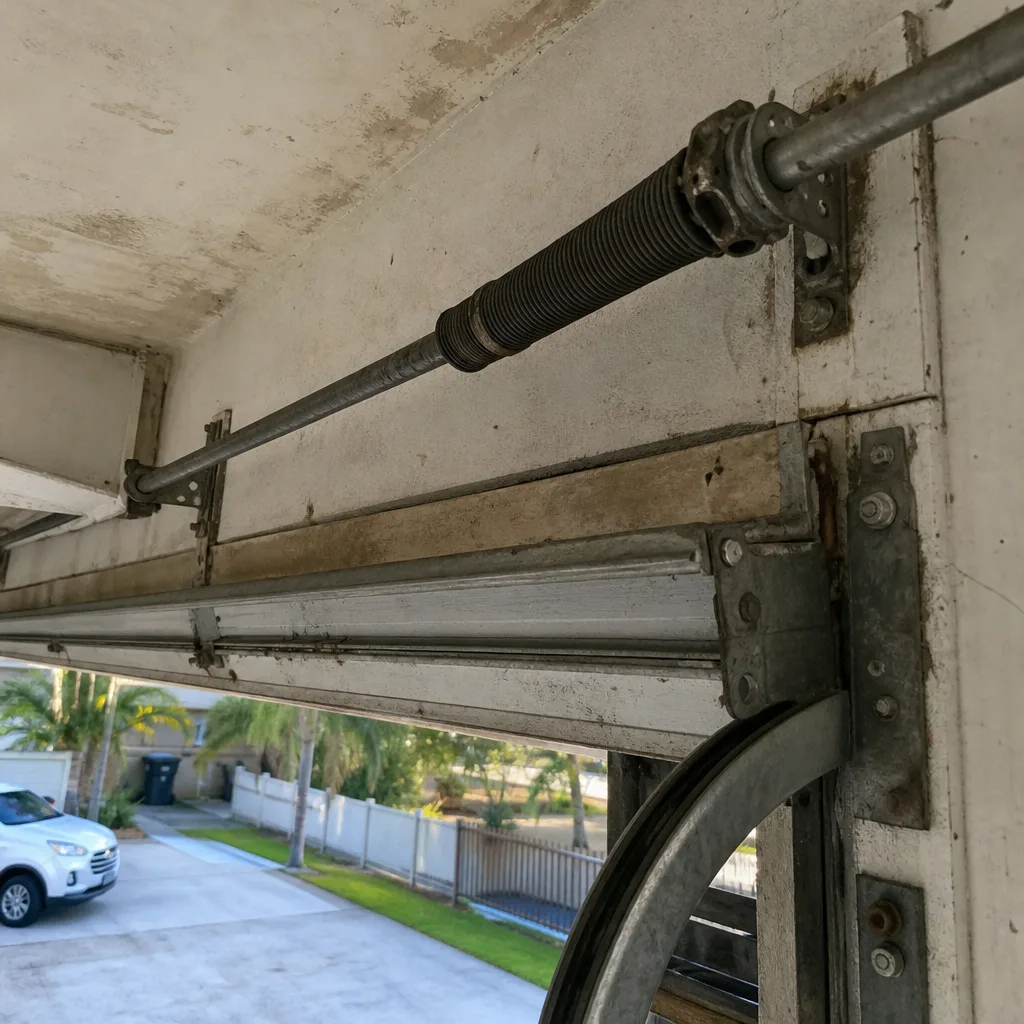
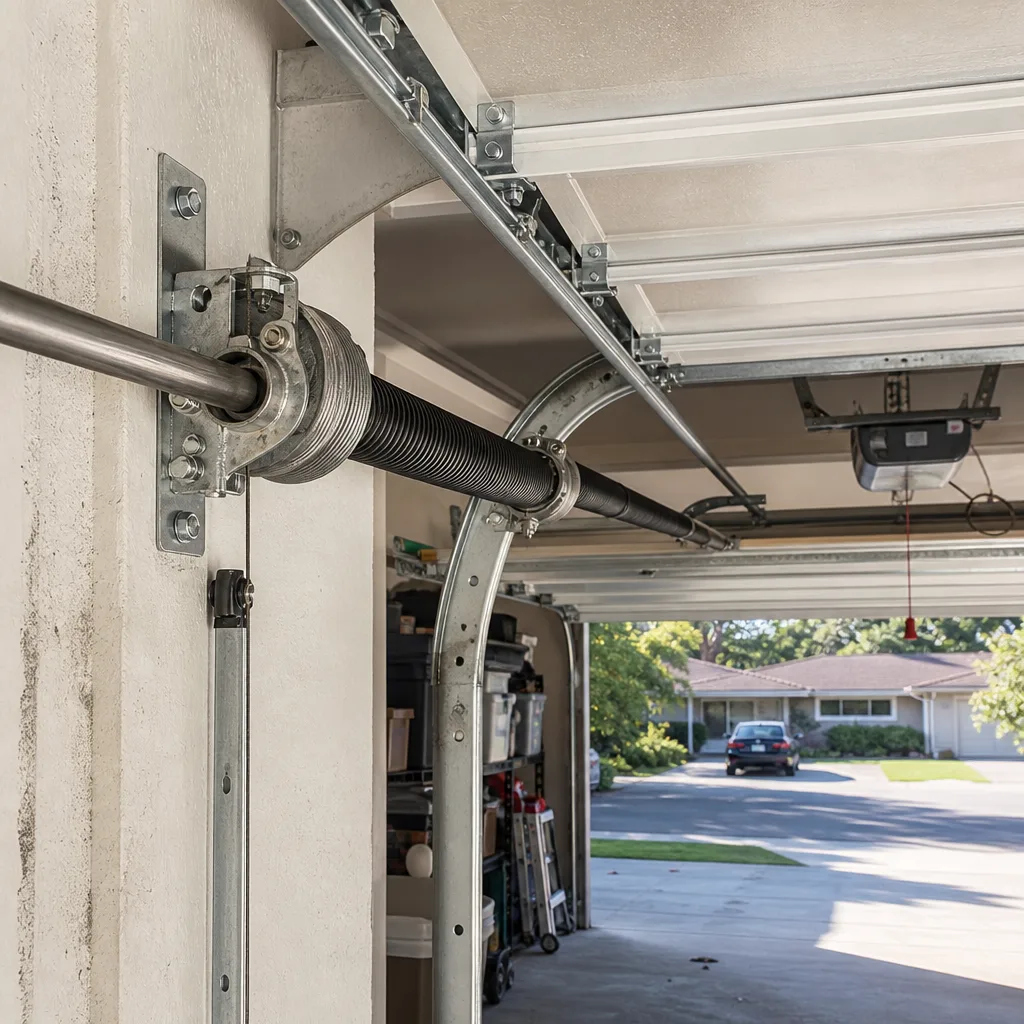
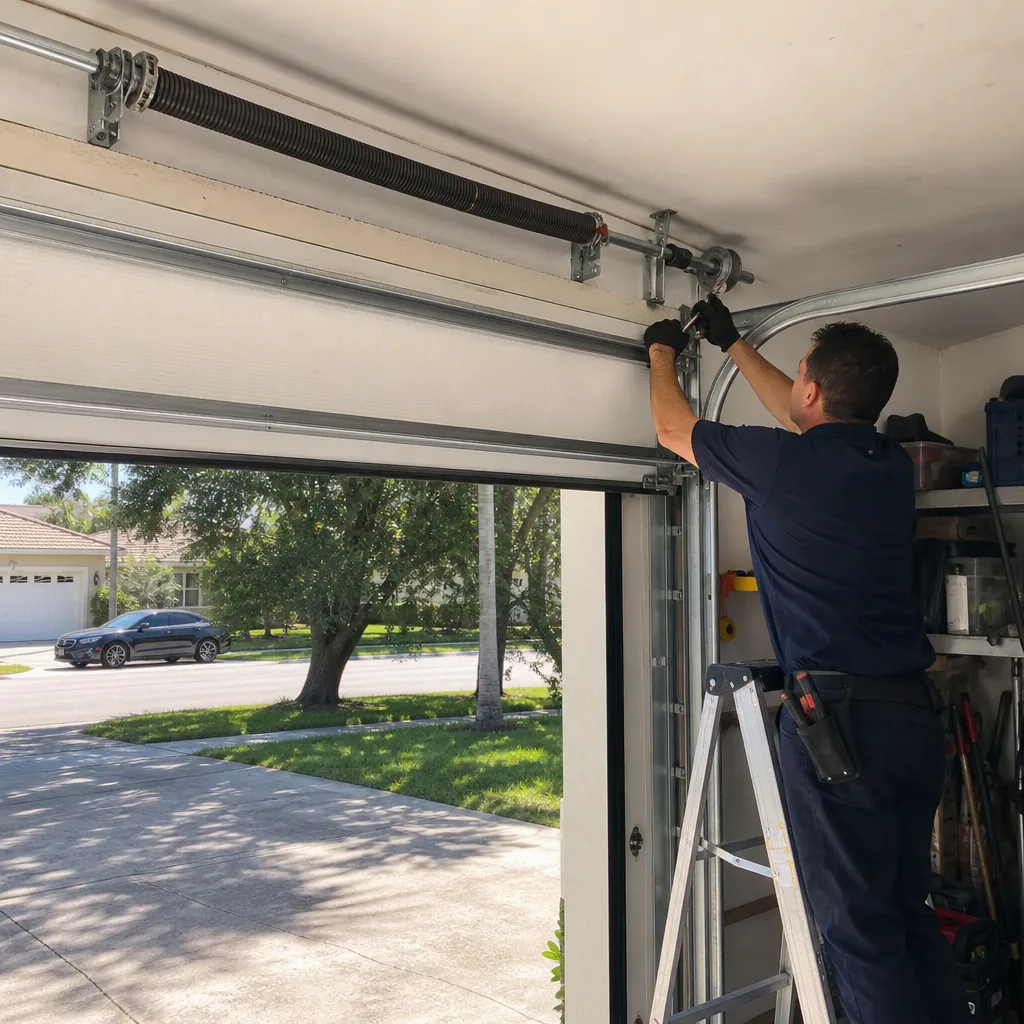
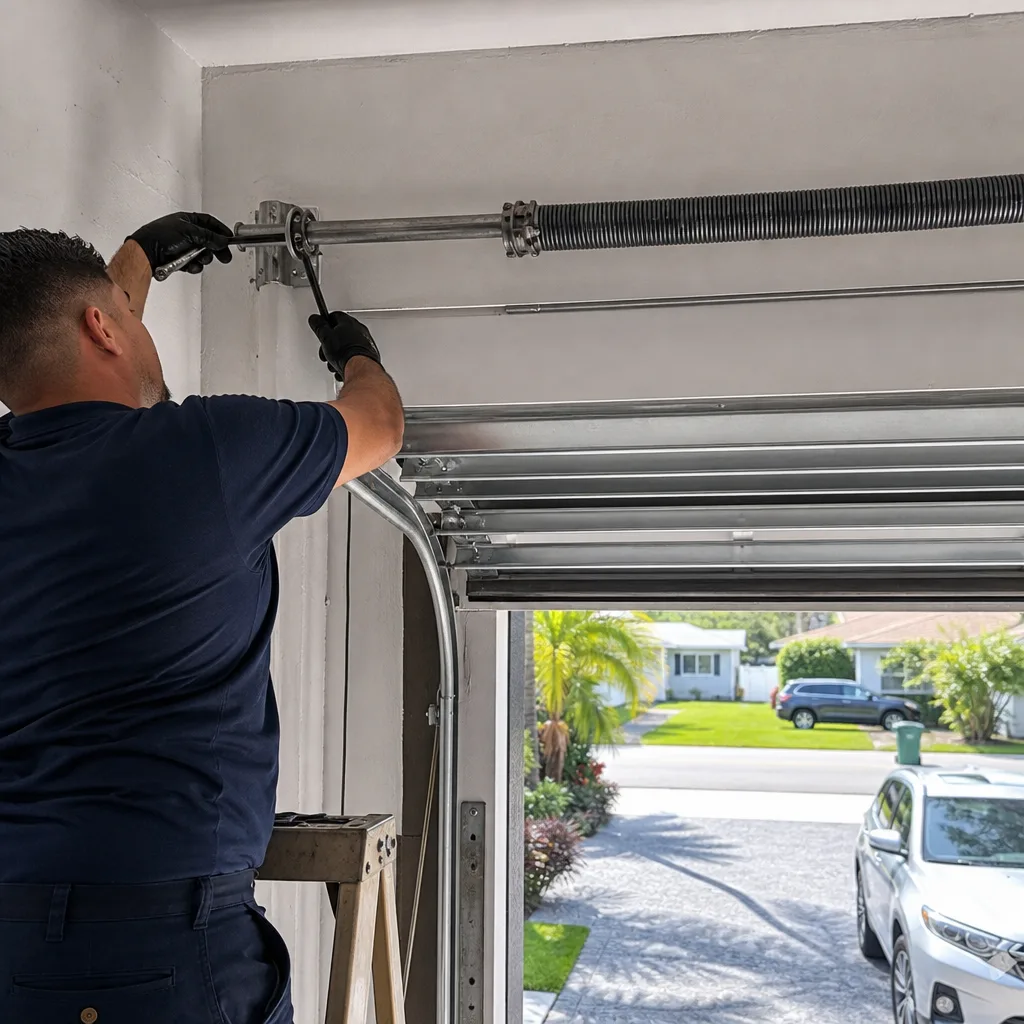
A torsion spring is the coil mounted on a metal shaft above your door. It’s wound tight – typically 7 to 8 full turns of stored tension on a residential door – and that tension is what lifts a 150 – 300 pound door with minimal motor effort. When that spring snaps (which it eventually will; most are rated for around 10,000 cycles, roughly 7 – 10 years of typical use), the release of energy is violent enough to take off a finger or shatter a wrist if your hand is in the wrong place. Replacing it requires winding bars inserted into specific cone holes, precise winding counts matched to door weight and height, and absolute knowledge of which direction to wind. A wrong wind count means a door that flies open or crashes down. A winding bar that slips means a trip to Jackson Memorial. This is the #1 injury mechanism in garage door work and the #1 reason we recommend against DIY on this job. Garage door spring repair in Miami typically runs $250 – $450 for a torsion spring replacement, parts and labor included – cheap compared to the alternative.
2. Cable Replacement (Under Load When the Door Is Down)
Most people don’t realize the lift cables are under maximum tension when the door is fully closed. The cables run from the bottom brackets up through the drums and attach to the spring system. When the door is down, the springs are still holding that stored energy, and the cables are what transfer that force to the door. Cut or remove a cable under tension and the stored energy has to go somewhere – usually into the drum spinning at high speed, the cable whipping through the air, or the bracket tearing free and hitting whoever is closest. Cables also fray long before they snap, so if you see loose strands near the bottom bracket, that’s a warning sign worth treating seriously.
3. Structural Panel Work on a Hurricane-Rated Door
This one is Miami-specific. Any garage door installed under Miami-Dade County building code after the post-Andrew reforms is part of your home’s wind-load protection system. That’s not marketing language – it’s structural engineering. A hurricane-rated door has to withstand sustained winds of 150+ mph and positive/negative pressure cycling. When you replace a panel, you’re altering a tested and certified assembly. Do it yourself, and if the door fails during a storm – or if a home inspector flags it during a sale – your insurance claim or closing could get complicated. We’ll cover this in more detail below.
The Miami Compliance Trap: Wind-Load Codes and Your Insurance
Here’s where the DIY-vs-professional debate shifts from money to risk, and it’s the angle most generic garage door guides miss entirely. Miami isn’t just any city when it comes to garage doors. It’s in Miami-Dade County, which has the strictest wind-load building codes in the United States. For details on permits and inspections, see Garage Door Permits, Codes & Inspections in FL: What You Need to Know. And those codes don’t just affect new construction. They affect repairs, replacements, and resale.
If your home was built or retrofitted with a hurricane-rated garage door – which includes most homes in Miami built after 1994 and many older ones that were upgraded – that door is part of a permitted, inspected installation. The springs, cables, panels, and track system are all sized and specified to work together as a wind-load assembly. Here’s the catch: when you replace a spring, a cable, or a panel, you’re changing a component of that tested system.
Does that mean every spring replacement requires a permit? Not exactly. A like-for-like spring swap performed by a licensed garage door technician typically doesn’t trigger a re-inspection because the replacement matches the original specification. But if a homeowner does the work themselves with a spring they bought at Home Depot that isn’t rated for their specific door weight and wind-load classification, two things can happen. First, the door may not perform correctly – either failing to balance, wearing out the opener prematurely, or worse, failing during a storm when the negative pressure pulls against it. Second, if there’s ever an insurance claim for storm damage and the adjuster sees evidence of non-compliant or uninspected work, you’ve given your carrier a reason to deny or reduce the claim.
The same logic applies to a home sale. Miami home inspectors are increasingly knowledgeable about wind-load certification, and a sharp inspector will check whether the garage door system matches the home’s original permit records or the current Miami-Dade product control approval. If a DIY spring replacement or panel swap doesn’t match, the inspector flags it, and you’re negotiating a repair credit or losing the deal. We’ve seen it happen in neighborhoods from Pinecrest to Palmetto Bay. It’s an expensive lesson that never shows up in a YouTube tutorial.
What this means in practice: if the door on your Miami home is a hurricane-rated system (and if you’re not sure, look for a Miami-Dade NOA – Notice of Acceptance – sticker on the inside of the door panel or track), any work that changes its structural or mechanical components should be performed by a professional who understands wind-load specifications and can document the work. Garage door installation in Miami and structural repair is not the place to save $150.
Honest Cost Comparison: DIY Parts vs. Professional Service in Miami
Let’s talk money, because that’s usually the real motivator behind DIY. For a detailed look at pricing, see our Garage Door Cost Breakdown: The Miami Homeowner’s Reference for 2026. Here’s a straight comparison of what each common repair costs when you do it yourself versus what a licensed Miami technician charges all-in. These are real ranges based on what we see in this market, not national averages.
- Lubrication and maintenance: DIY costs $15 – $30 for silicone lubricant and about 30 minutes of time. Professional service call runs $75 – $125 in Miami. Verdict: DIY, without question. This is the one task where doing it yourself always makes sense.
- Weather seal replacement: DIY costs $20 – $40 for the seal itself, plus about 45 minutes of work. Professional cost is $110 – $180 including parts and labor. Verdict: DIY if the door is standard width; call a pro if you have a custom door size or dual-track system.
- Photo-eye sensor realignment: DIY costs $0 if it just needs adjustment. Professional cost is $85 – $140 for the service call. Verdict: DIY first. If realignment doesn’t fix the issue, the sensor itself is likely bad and needs replacement – that’s a professional job.
- Limit switch adjustment: DIY costs $0 and about 15 minutes. Professional cost is $90 – $150. Verdict: DIY, as long as you’re making small adjustments and not forcing anything that resists.
- Torsion spring replacement: DIY costs $50 – $90 for the spring at a big-box store, plus $30 for winding bars if you don’t already own them. Professional cost is $250 – $450 in Miami, parts and labor included. Verdict: Professional. Always. The $170 – $320 savings does not offset the injury risk and the compliance concern on a wind-load door.
- Cable replacement: DIY costs $15 – $30 for cables. Professional cost is $150 – $250, usually done as part of a spring service. Verdict: Professional. Cables work in tandem with the springs, and a cable issue almost always means spring work is needed too.
- Panel replacement on a hurricane-rated door: DIY isn’t really an option here – you can’t source matching wind-load-rated panels as a retail customer. Professional cost is $300 – $700 per panel depending on the door model, plus labor. Verdict: Professional, and get it documented.
The pattern here is clear. The tasks where DIY makes financial sense are the low-skill maintenance items. The tasks where DIY looks financially attractive – springs and cables – are exactly the ones where the hidden costs (medical bills, door damage, compliance issues, home-sale complications) dwarf the apparent savings.
Extension Springs vs. Torsion Springs: Why the YouTube Video Might Be Wrong
One of the more dangerous assumptions we see Miami homeowners make is that all garage door springs work the same way. They don’t. And if you’re following a YouTube tutorial, getting this wrong isn’t just confusing – it’s dangerous.
Extension springs are the older system, common in Miami homes built before the mid-1990s and still found on many one-car and two-car doors in neighborhoods like Shenandoah and Silver Bluff. They’re mounted horizontally above the tracks on either side of the door, and they stretch and contract as the door moves. A single-extension-spring setup (one spring on each side) behaves completely differently from a pair setup – and mixing up the repair approach is how injuries happen. Extension springs also require a safety cable running through the center of the spring. If that cable is missing or broken and a spring snaps, the spring can fly across the garage.
Torsion springs are the modern standard. They’re mounted on a metal shaft directly above the door opening, and they work by winding and unwinding rather than stretching. Almost every new door installed in Miami today uses a torsion system because it’s smoother, safer, and better suited to the heavier wind-load-rated doors required by Miami-Dade code.
Here’s why this matters for the DIY decision: the repair procedure for each system is completely different. Extension springs use different tools, different tensioning methods, and different safety considerations than torsion springs. A homeowner who learns how to replace a torsion spring on YouTube and then applies that knowledge to their extension-spring door is working with the wrong playbook. And the reverse is even more dangerous – torsion spring methods involve winding bars that simply don’t apply to an extension system.
Before you even consider working on a spring, identify what you have. If the spring stretches along the track, it’s extension. If it coils tightly on a shaft above the door, it’s torsion. And if you’re not sure, call someone who is.
Garage Door Opener Repair: What’s Actually DIY-Friendly
Garage door openers seem intimidating because they involve electricity and circuit boards, but several common opener issues are genuinely DIY-addressable. The key is knowing which symptoms point to easy fixes and which ones mean a failing motor or logic board.
DIY-Friendly Opener Fixes
- Remote or keypad not working: Replace the battery first. Then check whether the lock button is engaged on the wall console (this is surprisingly common – the lock feature disables remote operation). If neither works, check the antenna wire hanging from the motor unit; it should be hanging straight down, not coiled or tucked.
- Door reverses immediately after touching the floor: This is almost always the close-limit setting or an obstruction. Check for debris on the track, adjust the limit switch as described above, and ensure the photo-eyes are aligned.
- Grinding noise but no movement: This typically points to a stripped gear, common on older Craftsman and LiftMaster screw-drive and chain-drive models. The gear kit costs $20 – $35 and replacement is moderate-level DIY for someone comfortable with basic tools and has patience. If you’re not confident, this is a $150 – $250 professional repair in Miami.
- Opener runs but door doesn’t move: Check the emergency release cord. If it’s been pulled (which disconnects the door from the trolley), the opener will run but the door stays put. Re-engage the trolley by pulling the cord and running the opener until the trolley catches.
Not DIY-Friendly Opener Fixes
If your opener is a newer Chamberlain or LiftMaster with a DC motor and a logic board, virtually all electrical troubleshooting is professional territory. Capacitors in these units retain charge even when unplugged, and diagnostic work involves the manufacturer’s specific tools. If your opener is more than 15 years old and makes a humming sound without moving the door, it’s likely a failed capacitor or motor – at that age, replacement is usually the better financial move anyway. Most garage door repair in Miami involving opener replacement runs $350 – $650 installed, and a new unit comes with modern safety features (battery backup, rolling codes, smart-home integration) that didn’t exist when your old one was manufactured.
Miami-Specific Maintenance: Salt Air, Humidity, and Hurricane Season
Miami’s climate treats garage doors differently than anywhere else in Florida, let alone the rest of the country. Three environmental factors create maintenance needs that homeowners in other markets never consider.
Salt air is the biggest one if you live east of US-1. The corrosive effect is real and measurable: steel garage door hardware near the coast (Key Biscayne, Brickell, Miami Beach, North Bay Village) rusts at roughly double the rate of inland homes in Doral or Hialeah. The rollers – small wheels that ride in the track – are especially vulnerable. Once a roller seizes, the door starts grinding against the track, which wears the track and strains the opener. Nylon rollers with sealed bearings are the standard upgrade we recommend for coastal homes, and they’re not something most homeowners install themselves because the bottom bracket on a lift-cable door is under spring tension.
Humidity causes problems that aren’t visible until they fail. Wood doors – still common in older Miami neighborhoods like Coral Gables and the Roads – absorb moisture and swell, especially during the May-to-October rainy season. A swollen door is heavier and harder to balance, which accelerates spring fatigue. If your wood door gets noticeably harder to lift in August than it was in January, that’s not your imagination, and it’s worth having the spring tension checked before the spring gives out.
Hurricane season (June 1 through November 30) should be treated as a maintenance deadline. The time to discover your door needs a spring, cable, or track repair is before storm season, not during it. We recommend a full inspection every spring – checking spring balance, cable condition, track alignment, and weather stripping – so you’re not troubleshooting a door that won’t open when a storm is 72 hours out. And yes, we do see exactly that every year in Miami. Bramwell Garage Doors Miami runs this maintenance cycle for homeowners across the city, from Coconut Grove to Kendall.
Common Mistakes to Avoid
- Using WD-40 instead of a silicone-based lubricant. WD-40 is a solvent, not a lubricant, and it actually strips away existing lubrication. In Miami’s humid climate, this mistake accelerates corrosion on hinges and rollers.
- Removing a torsion spring without winding bars. Substituting screwdrivers or pry bars for actual winding bars is the most common injury mechanism we hear about in Miami. The bars need to be the right diameter to seat fully in the winding cone – anything else can slip.
- Assuming your door isn’t hurricane-rated because it’s old. Many Miami homes were retrofitted after Hurricane Andrew, and plenty of pre-1994 doors were replaced with wind-load-rated units since. Check for the Miami-Dade NOA sticker before treating any structural work as low-stakes.
- Mixing up extension and torsion spring repair methods. As covered above, these are completely different systems with different tools, different tensioning sequences, and different failure modes. A procedure for one doesn’t transfer to the other.
- Disconnecting the opener without setting the door on a ladder or support. If you pull the emergency release while the door is open and the springs are weak, the door can come down fast. Always support the door before working on anything connected to the spring or cable system.
- Ignoring a fraying cable because “it still works.” Lift cables fray progressively, and by the time you see broken strands, the cable is near failure. A cable that snaps while the door is moving can whip unpredictably and take out whatever or whoever is nearby.
- Buying the cheapest spring you can find online. Springs are sized by wire gauge, inner diameter, length, and wind direction. A spring that’s not matched to your specific door weight will either fail prematurely or throw the door out of balance, which then damages the opener.
When to Call a Professional
Here’s the short version. Call a professional if your door has a broken torsion or extension spring, a frayed or snapped lift cable, visible damage to any panel on a hurricane-rated door, a bent track, or an opener problem you’ve diagnosed as something beyond a battery, limit switch, or photo-eye adjustment. If the door makes a loud bang and stops working, don’t keep pressing the opener button to “test it” – that’s how you compound the damage. If the door is stuck open or crooked in the track, that’s an emergency situation in a city like Miami where an open garage is an invitation to both storms and unwanted visitors. Bramwell Garage Doors Miami offers free estimates in Miami – call (850) 673-0645 and a live person answers, day or night. We’ll give you a written price before any work starts, and that price is the price on the invoice.
Frequently Asked Questions
For maintenance tasks like lubrication and weather seal replacement, DIY saves $75 – $150 per task. For spring or cable work, DIY saves $170 – $320 on paper, but the real-world cost – accounting for tool purchase, the risk of injury, potential door damage, and possible compliance issues on hurricane-rated doors – either eliminates the savings or reverses them. The tasks where DIY genuinely pays are the maintenance items, not the mechanical repairs.
Yes, slightly. Miami-Dade rated doors use heavier springs, reinforced hardware, and certified panels, and those components cost more than their non-rated equivalents. A torsion spring replacement in Miami typically runs $250 – $450 compared to $180 – $300 in markets without wind-load requirements. The difference reflects higher material costs and the need for technicians who understand Miami-Dade product approval specifications.
It can complicate a claim, yes. If a garage door fails during a storm and the damage is traced to non-compliant or uninspected work on the spring, cable, or panel system, your insurer has grounds to reduce or deny the claim. This is specifically true for hurricane-rated doors where the original installation carried a Miami-Dade product control approval. Unpermitted structural work is one of the first things adjusters look for after storm damage.
Torsion spring replacement, without close competition. The spring stores 7 – 8 full turns of tension on a typical residential door, and that energy releases instantly if the winding bar slips or the wrong procedure is followed. Emergency rooms treat garage door spring injuries every year, and the injuries are severe: fractures, amputations, and crush wounds. This is the one repair where no amount of YouTube research justifies the risk.
Yes, Bramwell garage door technicians carry common torsion springs in a range of sizes, lift cables, rollers, hinges, photo-eyes, and weather seals on every truck. Most spring and cable repairs are completed same-visit. If you need something uncommon – a specific panel for a hurricane-rated door, for example – we’ll order it and give you a clear timeline. Call (850) 673-0645 for a free estimate, and we’ll quote a written price before any work begins.
At least once a year, and ideally twice: once in March before hurricane season and once in October as the rainy season winds down. For a complete task list, see our Garage Door Repair Maintenance Checklist for Miami Homeowners. Miami’s combination of salt air, high humidity, and storm-driven pressure cycling means components deteriorate faster than they do inland. An annual inspection catches spring fatigue, cable fraying, and roller wear before any of them become a failure – and a failure in Miami is more consequential than elsewhere because of the hurricane-rated door systems.
The Bottom Line
The DIY-vs-professional decision for garage doors in Miami comes down to a simple framework. Lubricate it yourself. Align the photo-eyes yourself. Replace the weather seal yourself. Adjust the limit switch yourself. Leave springs, cables, panels, and any structural work to a professional who understands Miami-Dade wind-load requirements and can document the work properly. The savings on DIY mechanical repair look attractive on paper, but the combination of stored energy, salt-air accelerated wear, and mandatory hurricane compliance makes the professional route the financially rational choice for anything beyond basic maintenance.
Written by Marcus Ellery, Owner at Bramwell Garage Doors Miami, serving Miami since 2001.
See the difference
 Before
 After
After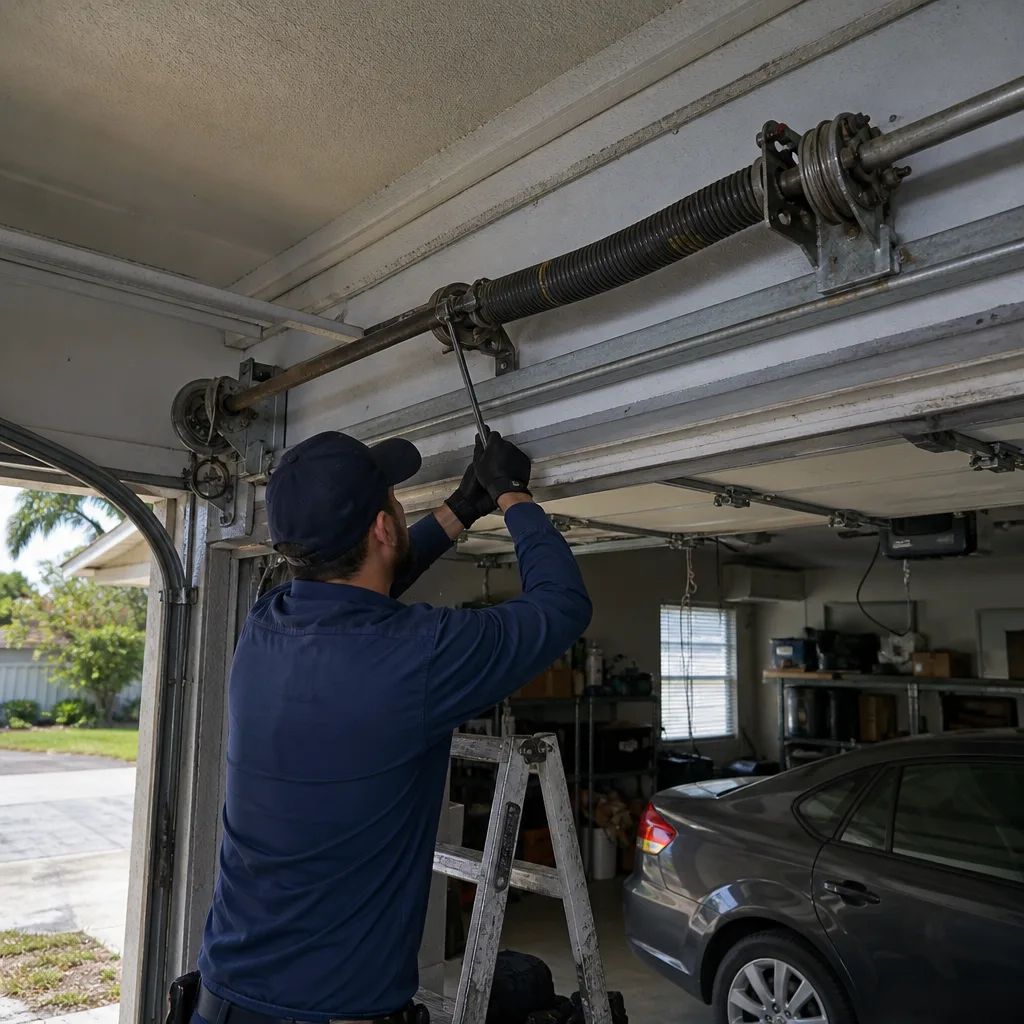 Before
 After
After Before
 After
After