
Last updated October 16, 2026
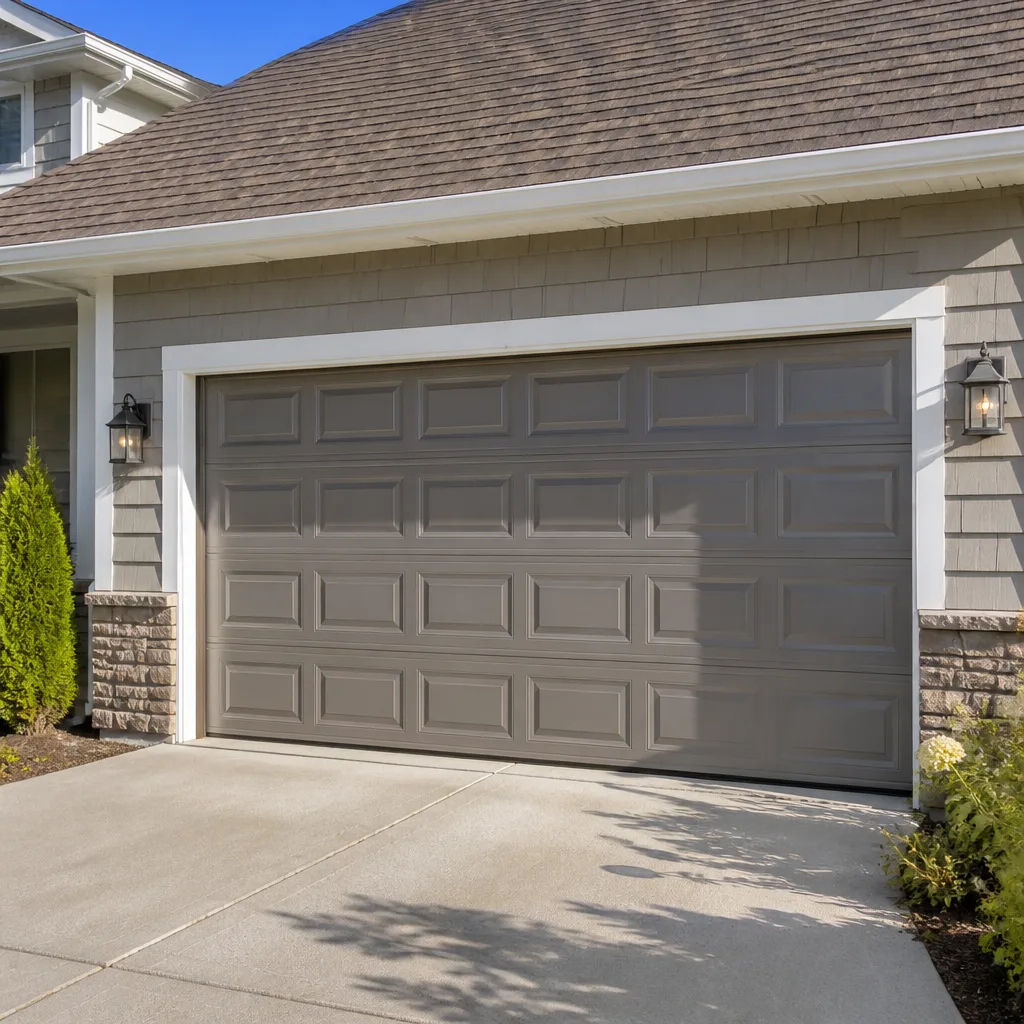 Raised-panel steel
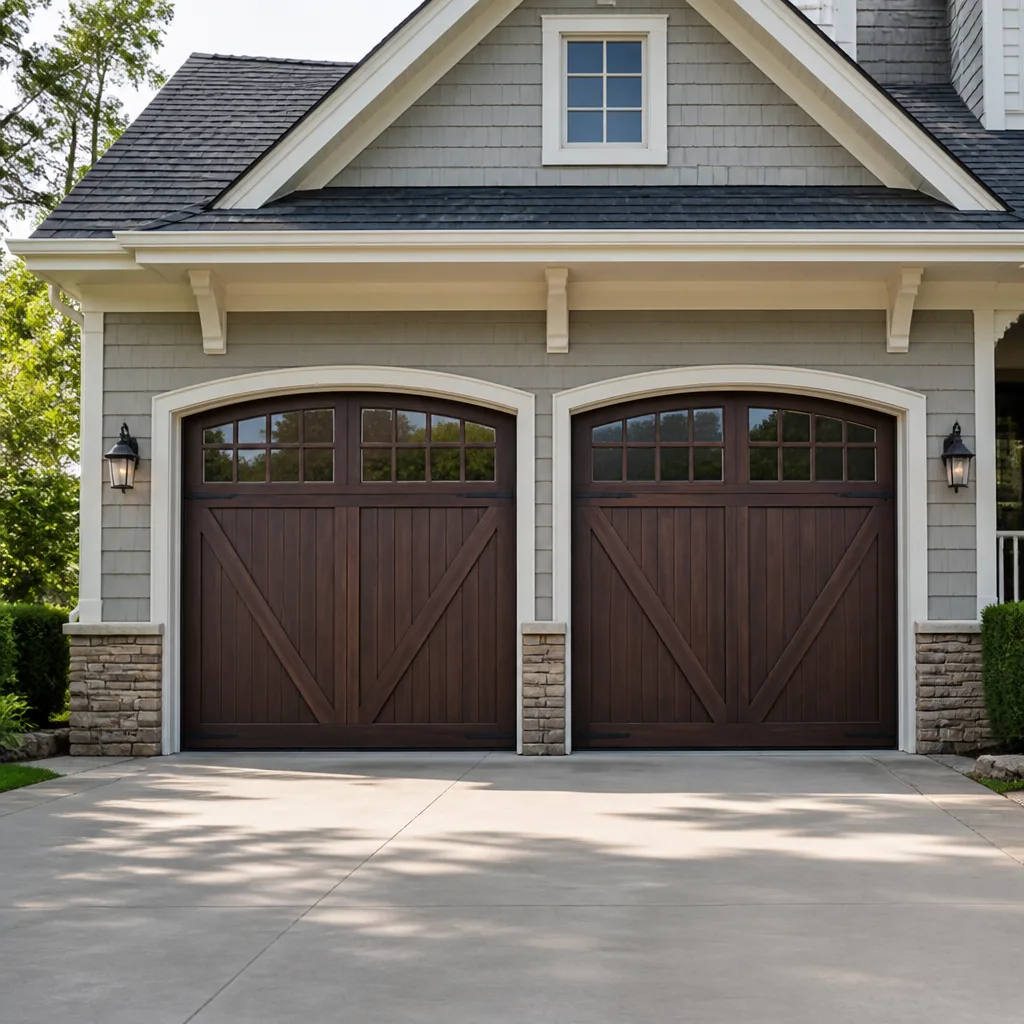 Carriage house
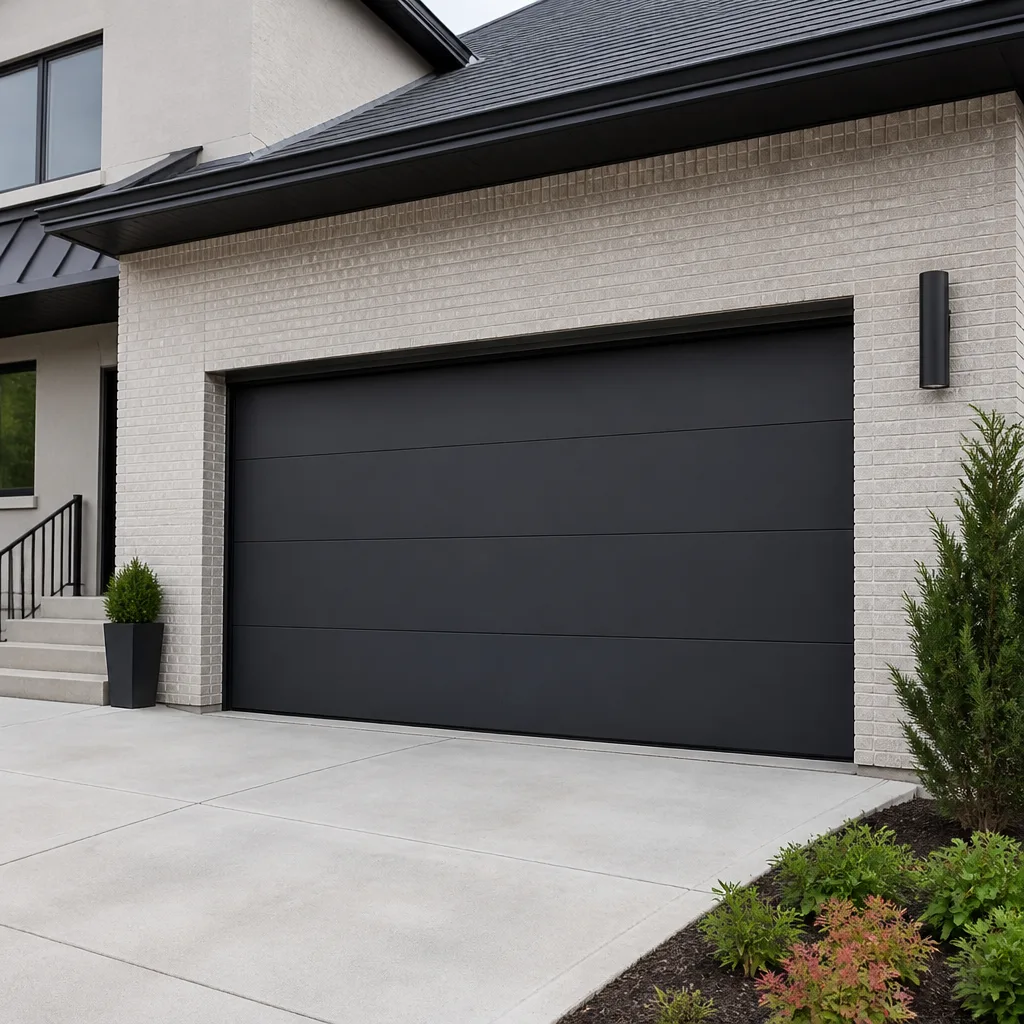 Modern flush
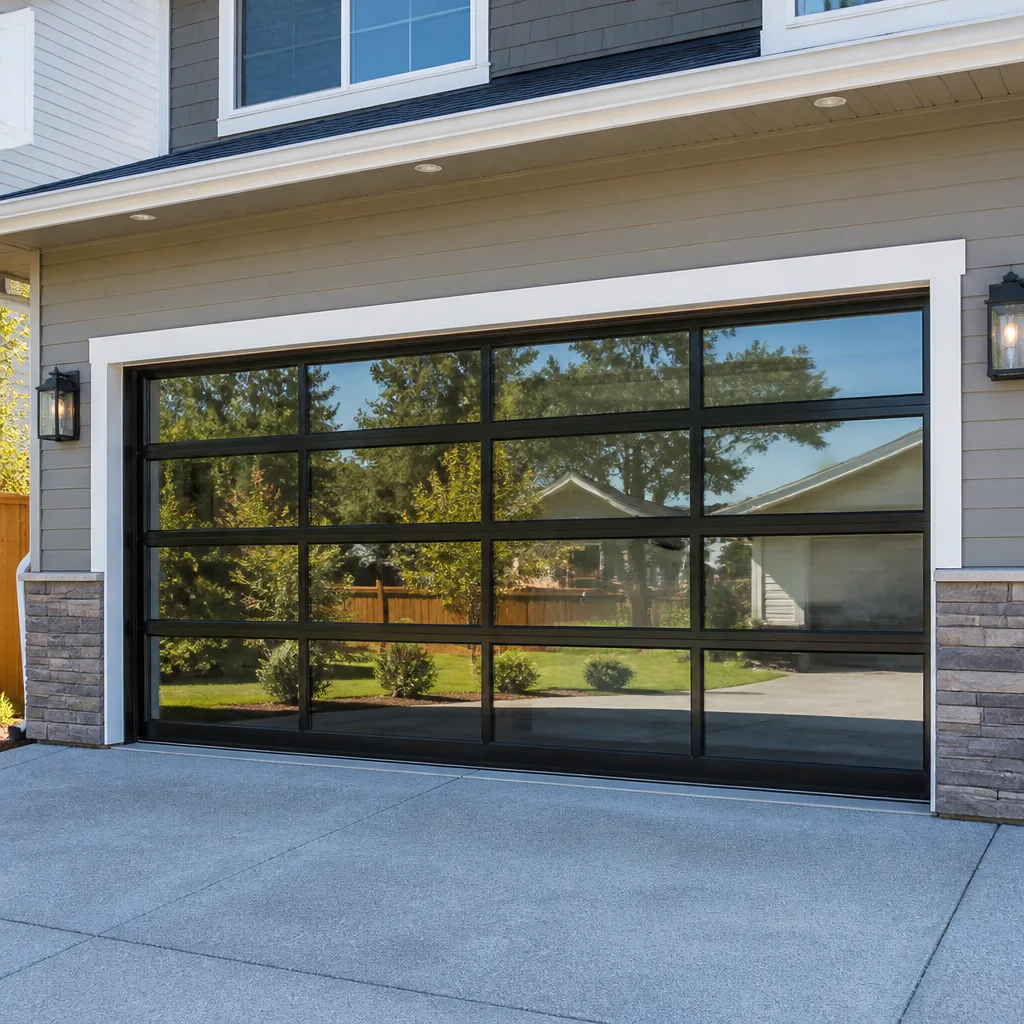 Full-view glass
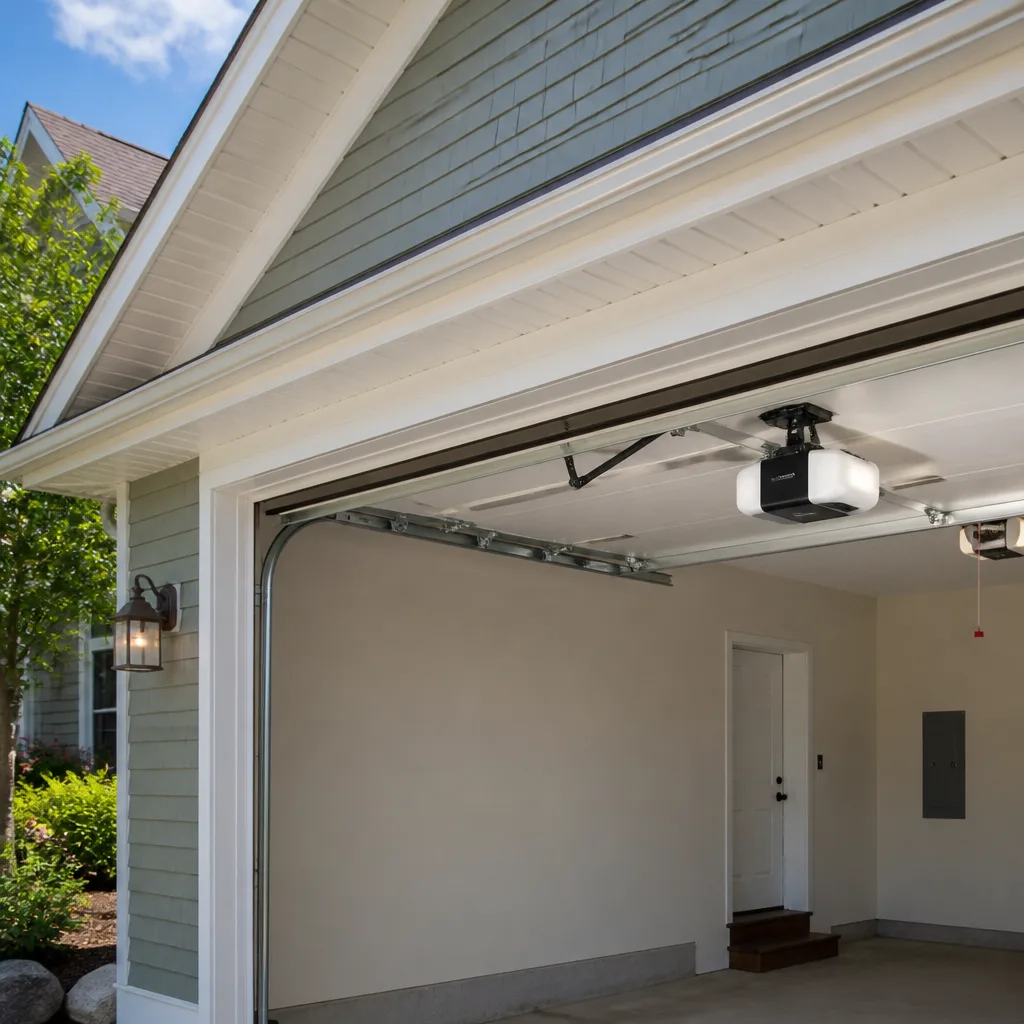 LiftMaster openers
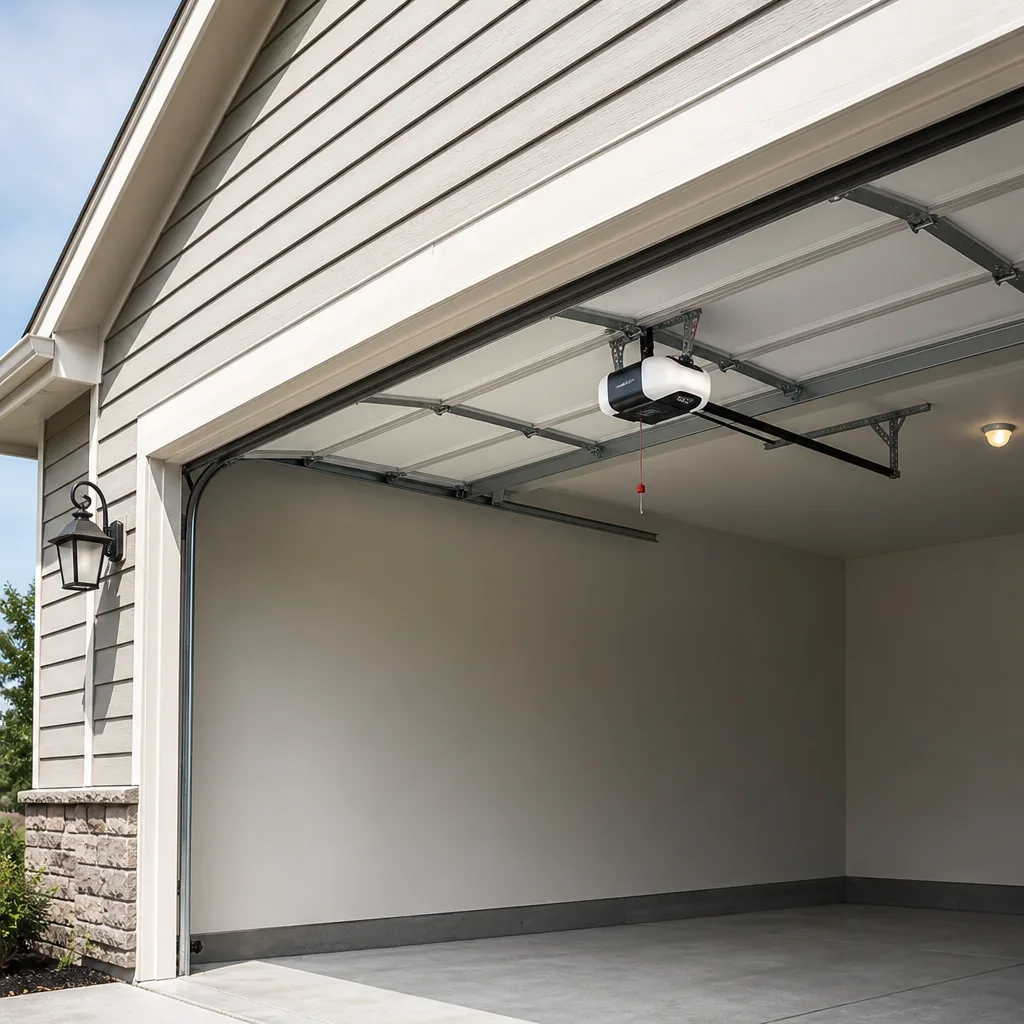 Chamberlain openers
Full 25-point door and opener safety check with every visit - springs, cables, rollers, tracks, and your LiftMaster or Chamberlain opener included
You get a price before we start. It does not change when the truck arrives.
Get your free estimateSeasonal Garage Door Care for Miami: Year-Round Homeowner’s Guide
Miami’s “winter” is when most homeowners forget about their garage door entirely. The temperature drops a few degrees, the humidity dips, and the door keeps working, so it slides off the to-do list. But January through March is actually the best window to replace worn hardware, repaint steel panels before summer UV hits, and catch corrosion that built up under six months of humidity. In our experience across Miami, the homeowners who do seasonal maintenance during the cool months are the ones who don’t end up calling us at 2 a.m. in August with a door stuck halfway open.
This guide lays out a two-season framework for garage door care in Miami: what to do before hurricane season, what to do after a storm passes, what the dry months demand, and which tasks you can handle yourself versus which ones need a trained technician. You’ll learn the specific inspection points that matter in a salt-air, high-humidity climate, and you’ll come away with a clear schedule you can follow year after year.
Styles & brands we work with
Quick Answer
Miami garage doors need two distinct maintenance routines: wet-season prep from May through June (corrosion control, wind-load checks, emergency release testing, seal replacement) and dry-season upkeep from December through February (UV protection on seals, thermal expansion checks, opener tension adjustment, and scheduling non-urgent repairs while technicians are less booked). Most seasonal maintenance tasks take under an hour, and the few that require professional help, like torsion spring inspection, should be scheduled during the cool months before the summer rush.
Table of Contents
- The Two Seasons That Actually Matter in Miami
- Wet Season Prep: May Through June
- Pre-Hurricane Season Checklist
- Post-Tropical-System Inspection: What to Check and What to Leave Alone
- Dry Season Tasks: December Through February
- Why the Cool Months Are the Best Time for Repairs
- Monthly Quick Checks That Take Five Minutes
- Common Mistakes to Avoid
- When to Call a Professional
- Frequently Asked Questions
- The Bottom Line
The Two Seasons That Actually Matter in Miami
Miami doesn’t have spring, summer, fall, and winter in any traditional sense. What it has, from a garage door’s perspective, is a wet season and a dry season. The wet season runs roughly June through November. The dry season runs December through May. Each punishes your door in fundamentally different ways, which means each demands a different maintenance response.
During the wet season, the enemy is moisture and wind. Relative humidity in Miami regularly sits above 75%, and the salt content in the air near the coast accelerates corrosion on exposed metal components. Hinges, rollers, track brackets, and the bottom seal all take a beating. Steel panels that have lost their protective coating start to rust from the edges in. Wood doors, common in older Miami neighborhoods like Shenandoah and Coral Gate, absorb moisture and swell, which throws off the door’s balance and puts extra strain on the opener.
The dry season brings a different set of problems. From December through May, intense UV exposure bakes rubber seals until they crack and lose their flexibility. Steel panels expand during the day and contract at night, and over time that thermal cycling causes limit switch drift. The limit switch is the sensor inside the opener that tells the motor when the door has reached the fully open or fully closed position. When heat expansion shifts the door’s resting position by even a quarter inch, the opener can start stopping the door short or running it too far, which puts stress on the whole system.
Understanding this two-season rhythm is the foundation of everything else in this guide. You’re not doing “spring maintenance” and “fall maintenance.” You’re doing wet-season hardening and dry-season preservation.
Wet Season Prep: May Through June
By late May, you have about four to six weeks before the daily afternoon thunderstorms become a regular fixture and the first tropical systems start forming. That’s your window. Here’s the wet-season prep routine we recommend for homeowners in Miami, in order of priority.
1. Test the Emergency Release Cord
The emergency release cord is the red rope hanging from the trolley, which is the carriage that moves along the rail and pulls the door open and closed. Pulling the cord disconnects the door from the opener so you can operate it by hand. In a power outage, which Miami gets plenty of during the wet season, this is the only way to open or close your door without electricity.
Test it once a year, before hurricane season. With the door closed, pull the cord. The door should release and you should be able to lift it manually with moderate effort. If you can’t lift it, or it feels heavy, the springs may be losing tension, which brings us to the next item. When you’re done, reconnect the trolley by running the opener once with the door still closed. The trolley arm should re-engage automatically.
2. Inspect the Bottom Seal and Weatherstripping
The bottom seal is the rubber strip running along the underside of the door. In Miami’s wet season, this seal is all that stands between your garage floor and the standing water that pools after a heavy rain. Look for cracks, gaps, and spots where the rubber has pulled away from the door. Run your hand along it and feel for hardened sections that no longer flex. A failed bottom seal lets water in, but it also lets in insects, and Miami has no shortage of those. If the seal shows visible light through it when the door is closed, it needs replacing. Most bottom seals run $20 to $50 for the material, and it’s a job most homeowners can do in about 30 minutes with a ladder and a utility knife.
3. Check for Corrosion on Hardware
Salt air plus humidity equals rust, and the first places it shows up are usually hinges and track brackets. Look for reddish-brown discoloration, flaking metal, and white powdery residue on aluminum parts, which is aluminum oxide, essentially aluminum’s version of rust. Surface rust can often be addressed with a wire brush and a rust-inhibiting primer. Deep pitting or holes in the metal mean the component has lost structural integrity and should be replaced.
One specific thing we see a lot in Miami, particularly in neighborhoods closer to Biscayne Bay like Morningside and Belle Meade, is corroded roller stems. The stem is the shaft that connects the roller wheel to the hinge. When the stem corrodes, the roller stops spinning freely and starts dragging along the track, which makes the door louder and puts unnecessary load on the opener.
4. Lubricate Moving Parts
Use a silicone-based lubricant or white lithium grease on hinges, roller bearings, and the torsion spring. The torsion spring is the heavy coil mounted above the door that handles most of the lifting weight. Spray it along the full length of the coil, not just at the ends, so the lubricant works into the gaps between coils. Do not use WD-40. It’s a solvent, not a lubricant, and it will actually strip away the lubricant that’s already there.
5. Verify Your Wind-Load Rating
This one is Miami-specific and important. Miami-Dade County sits in a high-velocity hurricane zone, and garage doors are required to meet specific wind-load ratings based on where the home is located. If your door was installed more than a decade ago, it may not meet the current code for your zone. If you’re in the process of replacing a door, or if a storm has damaged your existing one, Garage Door Installation in Miami should include a conversation about wind-load compliance, not just aesthetics. A door that fails in a hurricane doesn’t just let water in. The pressure differential can actually lift the roof off the house. That’s not an exaggeration, it’s a documented failure mode. If you’re not sure what rating your current door has, a technician can check the label and tell you.
Pre-Hurricane Season Checklist
When a named storm is in the forecast, the prep shifts from maintenance to hardening. Here’s the step-by-step list to run through before the storm arrives.
- Close and lock the door. This sounds obvious, but an unsecured garage door is a sail. The largest single opening on most homes is the garage door, and if wind gets behind it, the pressure can compromise the entire structure.
- Disengage the opener if you’re evacuating. Pull the emergency release and leave the door manually latched. The logic is simple: if the power goes out while you’re gone, you want the door to be operable by hand when you return, and you don’t want the opener’s motor fighting against a door that’s been jostled by wind pressure.
- Stock replacement hardware now, not after the storm. The two parts that fail most often after a tropical system are extension springs and bottom seals. Extension springs are the long springs running along the horizontal tracks on either side of the door, common on older doors. If you know your door uses them, having a spare pair on hand means you’re not waiting three days for a parts order after the storm passes. This is also the moment to confirm you know what type and size of spring your door uses.
- Clear the track path. In the hours before a storm, garage areas become staging zones for patio furniture, plants, and anything else that could become a projectile. Keep the area in front of and inside the garage clear, not just so the door can operate, but so debris doesn’t slam into the tracks and knock them out of alignment.
- Take photos. Walk around the door and photograph the panels, the tracks, the seals, and the opener. If the storm does damage and you need to file an insurance claim, dated pre-storm photos are worth their weight.
If you need a professional inspection before the season, Garage Door Repair in Miami can verify that everything from the springs to the sensors is in order. Call (850) 673-0645 and a live person will answer, day or night.
Post-Tropical-System Inspection: What to Check and What to Leave Alone
After the storm passes, the instinct is to open the garage, survey the damage, and clean up. Before you do, take a breath and run through this inspection checklist. Some damage is safe to assess yourself. Some is not.
Safe to Inspect Yourself
- Bottom seal damage. Storm surge and wind-driven rain put the seal through the wringer. Look for tears, displacement, and debris wedged into the seal channel. If the seal has pulled out of its channel, it often just needs to be re-seated.
- Track obstructions and surface debris. Leaves, twigs, sand, and small branches routinely end up inside the track after a blow. Clean the tracks out with a dry cloth before operating the door.
- Panel dents and cosmetic damage. Small dents from flying debris are usually cosmetic and don’t threaten the door’s operation. Document them for insurance, but they’re not an emergency.
- Water penetration marks. Look for water lines on the interior walls near the door, which tell you the seal failed at some point during the storm and how high the water reached.
Leave Alone and Call a Technician
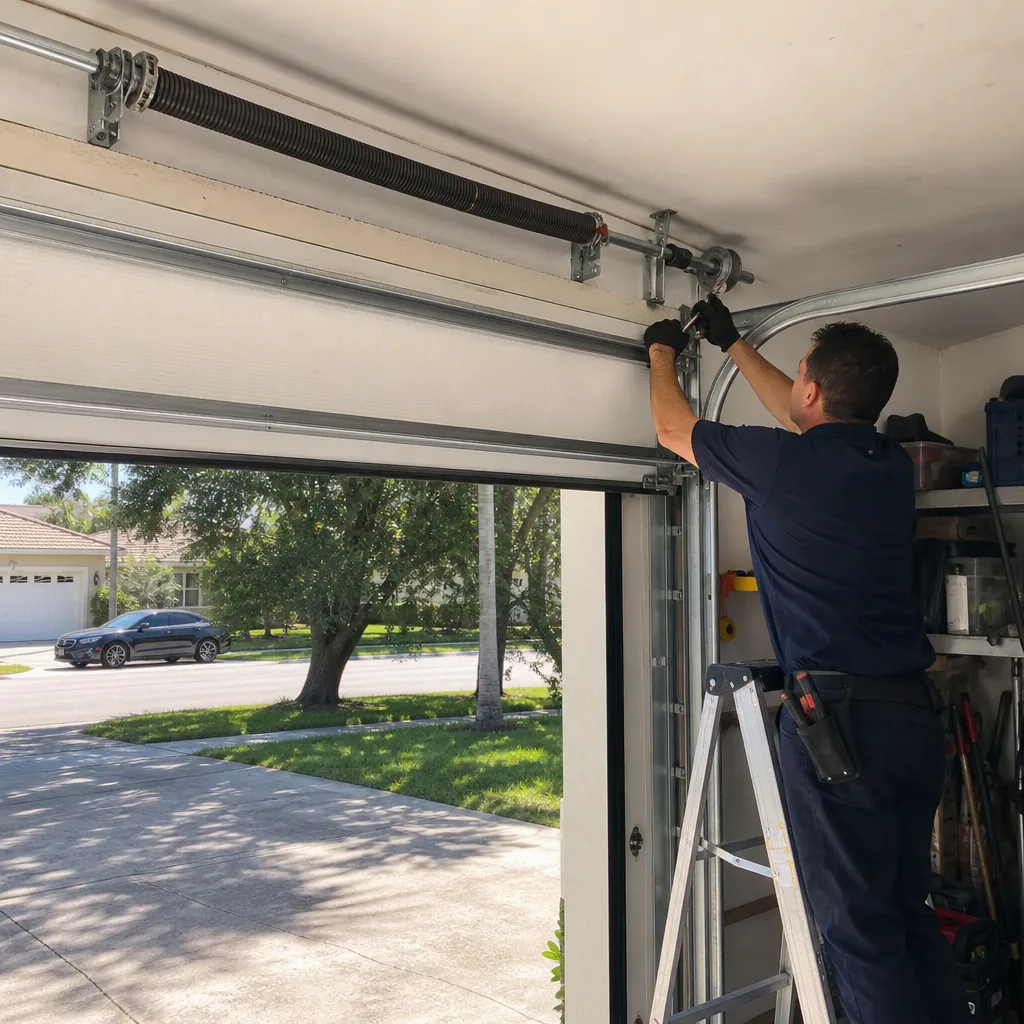
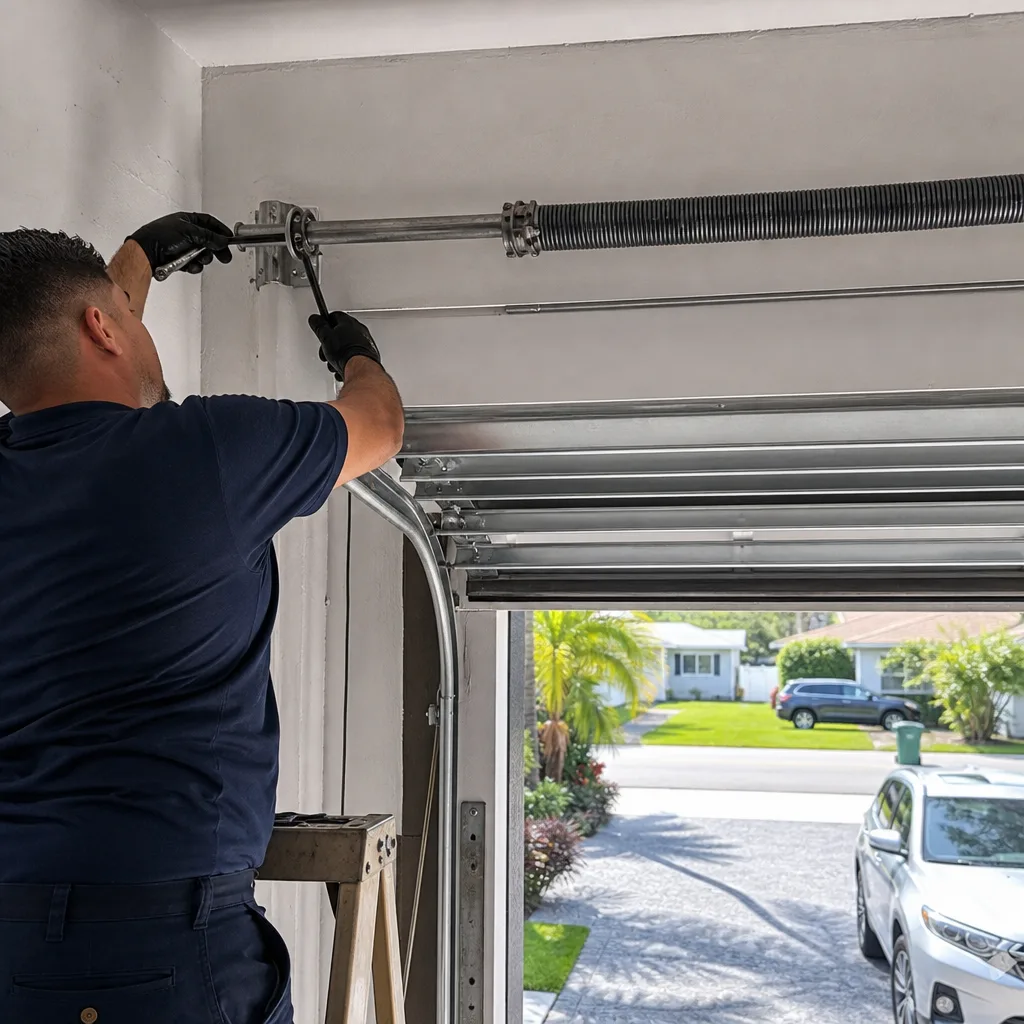
- Torsion spring damage or displacement. If the spring above the door looks twisted, snapped, or out of its normal position, do not touch it. Torsion springs are under extreme tension, enough to cause serious injury if they release unexpectedly. This is not a DIY inspection.
- Track misalignment. If the tracks look bent, bowed, or pulled away from the wall, let a professional handle it. A door that comes off its tracks can fall, and a falling garage door weighs 150 to 400 pounds.
- Opener malfunction after a power surge. If the opener was plugged in during the storm and now behaves erratically, the controller board may have been damaged. Power surges are common in Miami during lightning-heavy storms, and the fix is usually a board replacement, not a new motor.
- Cable damage. The lift cables run along both sides of the door and work with the springs to raise and lower it. If a cable is frayed or has come off the drum, it needs immediate professional attention. A snapped cable under load can whip with enough force to cause serious injury.
After a storm system passes through Miami, technicians are booked out for days. If your door is damaged, calling early matters. We answer the phone 24/7 at (850) 673-0645, and we’ll give you an honest assessment of how quickly we can get there.
Dry Season Tasks: December Through February
When the humidity drops and the afternoon thunderstorms fade, that’s your signal to shift into preservation mode. The dry season in Miami is the season of UV damage, thermal expansion, and cumulative wear. Here’s the maintenance routine for the cooler months.
Apply UV-Rated Sealant on Wood Doors
Wood garage doors are beautiful and durable, but Miami’s sun is merciless. Without a protective finish, the wood dries out, the grain opens, and panels start to warp. Warped panels don’t seal properly and they put uneven stress on the hinges. In older Miami neighborhoods with original wood doors, like the roads around Shenandoah Park or the historic sections of Coconut Grove, warping is the single most common long-term problem we see.
Every dry season, inspect the finish. If water no longer beads on the surface, it’s time to re-seal. Use a UV-rated exterior sealant or marine-grade varnish. Two light coats, applied in December or January, will carry the door through the harshest UV months of April and May. Let each coat cure for at least 24 hours before the door is used normally.
Check for Thermal Expansion and Limit Switch Drift
Steel doors expand in the Miami heat, and over the course of a single dry season, that repeated expansion and contraction can shift the door’s resting position. The result is limit switch drift, where the opener stops the door slightly short of fully closed, or runs it slightly too far. You’ll notice it as a small gap at the bottom of the door, or as the opener reversing right after it touches the ground, which happens when the door hits the floor before the limit switch expects it to.
The fix is usually a simple limit adjustment on the opener, a five-minute job with a screwdriver. On Chamberlain and Genie openers, the limit controls are typically on the side or back of the motor unit, clearly labeled. If you’re not comfortable adjusting it, or if you’ve adjusted it multiple times in a short period and the drift keeps coming back, the issue may be with the travel module, not the limit setting. That’s a job for a technician.
Adjust Opener Chain Tension
The chain or belt on your opener stretches over time, and in the dry season, the lower humidity can cause the metal chain to contract slightly. Listen for a slapping or rattling sound when the door operates. If the chain sags more than about half an inch below the rail, it’s time to tighten it. The tension adjustment is usually a turnbuckle on the trolley rail. Turn it a quarter turn at a time and test the door after each adjustment. Over-tightening causes premature wear on the sprocket and the chain itself, so err on the side of slightly loose rather than very tight.
Replace Cracked Seals Before They Fail
The dry season is also when existing damage becomes visible. Rubber seals that were softened by wet-season humidity harden and crack once the air dries out. Inspect the weatherstripping around the sides and top of the door, not just the bottom seal. These perimeter seals are often overlooked, but they keep dust, insects, and hot air out of the garage. In Miami, a failed perimeter seal also means hot outside air infiltrating a garage that might be air-conditioned in some homes, which costs you money on the electric bill.
Why the Cool Months Are the Best Time for Repairs
Here’s a scheduling insight that most Miami homeowners don’t consider: December through February is the slowest season for garage door repair companies. The emergency calls drop off, the weather is mild, and technicians are running regular, scheduled work rather than bouncing from one storm-related emergency to the next.
That matters for three reasons. First, parts availability. Spring and opener inventories get drawn down hard during the wet season, and by August, wait times for specific parts can stretch to a week or more. In the winter, parts are in stock and there’s no competition for them. Second, scheduling flexibility. You can get an appointment at a time that’s convenient for you, not just whatever emergency slot is open. Third, pricing on some components is more stable when demand is low, because suppliers aren’t applying surge pricing.
If you’ve been living with a squeaky spring, a slow-to-open door, or an opener that’s starting to make grinding noises, December or January is the time to address it. A Garage Door Spring Repair in Miami scheduled in January takes an hour and means you won’t be dealing with a snapped spring in the middle of August, which is the most common emergency call we get all year.
Monthly Quick Checks That Take Five Minutes
Between the two big seasonal pushes, run through these five checks once a month. Set a phone reminder. The whole routine takes about five minutes.
- Watch and listen to one full cycle. Stand inside the garage and run the door open and closed once. Listen for new grinding, scraping, or banging sounds. Watch for jerky movements or uneven travel. A garage door should move smoothly. If it doesn’t, something is changing.
- Test the auto-reverse sensors. The sensors are the small photo-eye units mounted near the floor on either side of the door opening. While the door is closing, wave your hand or a broom handle in front of one of them. The door should stop and reverse immediately. If it doesn’t, the sensors need realignment or cleaning.
- Check the balance manually. Pull the emergency release and lift the door by hand to the halfway point. Let go. If the springs are properly tensioned, the door should stay in place, not drop or drift up. If it drops, the springs are losing tension and need professional attention. If it drifts up, the springs are over-tensioned.
- Inspect cables visually. With the door closed, look at the two cables running up either side. They should be taut and straight, with no fraying, kinking, or rust. Do not touch them, just look.
- Check the fasteners. Garage doors vibrate constantly, and screws and bolts work loose over time. A quick once-over with a socket wrench on the track brackets and hinge plates keeps everything tight. Don’t over-tighten, especially on the brackets that hold the roller hinges, because that can bind the roller.
Common Mistakes to Avoid
- Using WD-40 to lubricate the door. WD-40 is a solvent, not a lubricant. It cleans off grease and then evaporates, leaving moving parts drier than they were before. Use silicone spray or white lithium grease on hinges, rollers, and springs.
- Ignoring a squeaky spring. A squealing sound from the torsion spring isn’t just annoying, it’s a sign of increased friction between the coils. That friction generates heat and accelerates metal fatigue. A squeaky spring is a warning sign that a failure is coming, not a harmless quirk.
- Adjusting torsion springs yourself. We cannot state this strongly enough. Torsion springs in Miami, like everywhere else, are wound under enough tension to cause catastrophic injury if mishandled. There is no safe way to adjust or replace a torsion spring without the proper winding bars and experience. This is the single most common serious injury we hear about from too-late callers.
- Painting over rust without treating it first. If you see rust forming on a steel panel, sanding it lightly and painting over it without a rust-inhibiting primer just seals the corrosion in, and it continues to spread under the paint. Treat the rust first, then prime, then paint.
- Replacing the opener instead of the springs. When a door gets hard to lift, homeowners sometimes assume the opener’s motor is worn out, so they buy a new opener. But the springs do the lifting, not the opener. The opener just guides the door. If the springs are worn, even a brand-new opener will strain and burn out quickly. Diagnose the springs first.
- Waiting until hurricane season to think about hurricane prep. By the time a storm is in the forecast, every hardware store in Miami is sold out of seals, springs, and every other garage door component. The time to stock spare parts and test your emergency release is May, not mid-September.
- Skipping the balance test because the door “works fine.” A door that operates doesn’t necessarily have healthy springs. The balance test we described in the monthly checks takes 30 seconds and tells you more about the condition of your springs than any visual inspection. Do it monthly.
When to Call a Professional
Some garage door tasks are homeowner-friendly. Lubrication, seal replacement, sensor cleaning, limit adjustment, and balance testing are all within reach of a reasonably handy person. But there’s a clear line, and you should know where it is. Call a professional for anything involving torsion springs, lift cables, track realignment, or opener repairs that involve the motor or controller board. These components carry heavy loads under tension, and the failure modes are unforgiving. A door falling off its tracks can do real damage to a car, a person, or both.
Bramwell Garage Doors Miami offers free estimates throughout Miami, and every job starts with a written price before any work begins. Call (850) 673-0645 and a live person will answer, 24 hours a day, seven days a week. We’re part of the Bramwell Garage Doors Miami home team, operating under the Kingswell standard since 2001.
Frequently Asked Questions
In Miami’s climate, we recommend a professional inspection once a year, ideally in December or January during the dry season, plus the monthly quick checks outlined above. The salt air and high humidity accelerate wear on hinges, springs, and seals, so an annual professional look at the whole system catches small problems before they become big ones.
The most common seasonal problem is bottom seal failure caused by wet-season flooding and dry-season UV cracking. The seal deteriorates from the constant moisture and then bakes in the sun until it splits. The fix is usually under $50 for the part, and it prevents standing water, insects, and hot air from entering the garage. Call (850) 673-0645 if you’d like someone to take a look at yours.
You should not replace garage door springs yourself. Torsion springs, the kind mounted above the door, are wound under extreme tension, enough to break bones or worse if they release unexpectedly. Extension springs are less dangerous to work on, but they still require precise sizing and the correct safety cables. This is one repair where the risk of serious injury outweighs any cost savings. Hire a professional.
Most torsion spring replacements in Miami run $150 to $280 for a pair, parts and labor included, depending on the spring size and the door’s weight. Extension spring replacements are usually $90 to $180. These are the prices we quote before any work starts at Bramwell Garage Doors Miami, and the number on the invoice matches the number we quoted, in writing, before we touch the door. Call (850) 673-0645 for an exact quote.
Yes. Miami-Dade County has some of the strictest wind-load requirements in the country, and garage doors are treated as structural components because a failed door can lead to roof failure. The required rating depends on your property’s exposure category and distance from the coast. If your door predates the current code cycles or you’re not sure what it’s rated for, a professional inspection can tell you. When you’re ready for a new door, Garage Door Installation in Miami should always include a wind-load conversation.
If you’re staying in the home, leave the opener plugged in but be prepared to operate the door manually if the power goes out. If you’re evacuating, pull the emergency release cord and leave the door manually latched. Power surges during electrical storms are a common cause of controller board failure in Miami, which is a repair that runs roughly $100 to $200 for the part, plus labor. Consider unplugging the opener if you’re home during a severe electrical storm and don’t need to use the door. A surge protector rated for motor loads adds an extra layer of protection.
The Bottom Line
Miami’s garage doors live in a climate that pushes them hard from two directions: a wet season that corrodes and a dry season that bakes. Successful seasonal care means working with that rhythm, not against it. Do your wet-season hardening in May and June. Test the emergency release, replace worn seals, check for corrosion, and verify wind-load compliance. Do your dry-season preservation in December through February. Re-seal wood doors, check for thermal expansion drift, adjust the chain, and schedule any non-urgent repairs while technicians are less busy. Run the monthly five-minute checks year-round, and know the line between a homeowner task and a professional one.
The garage door is the single largest moving part in your home, and in Miami, it’s also the single largest opening between your family and the weather. For more guides & resources, visit our blog. Treat it accordingly. If you run into something you don’t feel confident handling, call Bramwell Garage Doors Miami at (850) 673-0645. We’ll give you a written price before any work starts, and every repair is backed by the 365-Day Done Right Promise, in writing.
Written by Marcus Ellery, Owner at Bramwell Garage Doors Miami, serving Miami since 2001.
See the difference
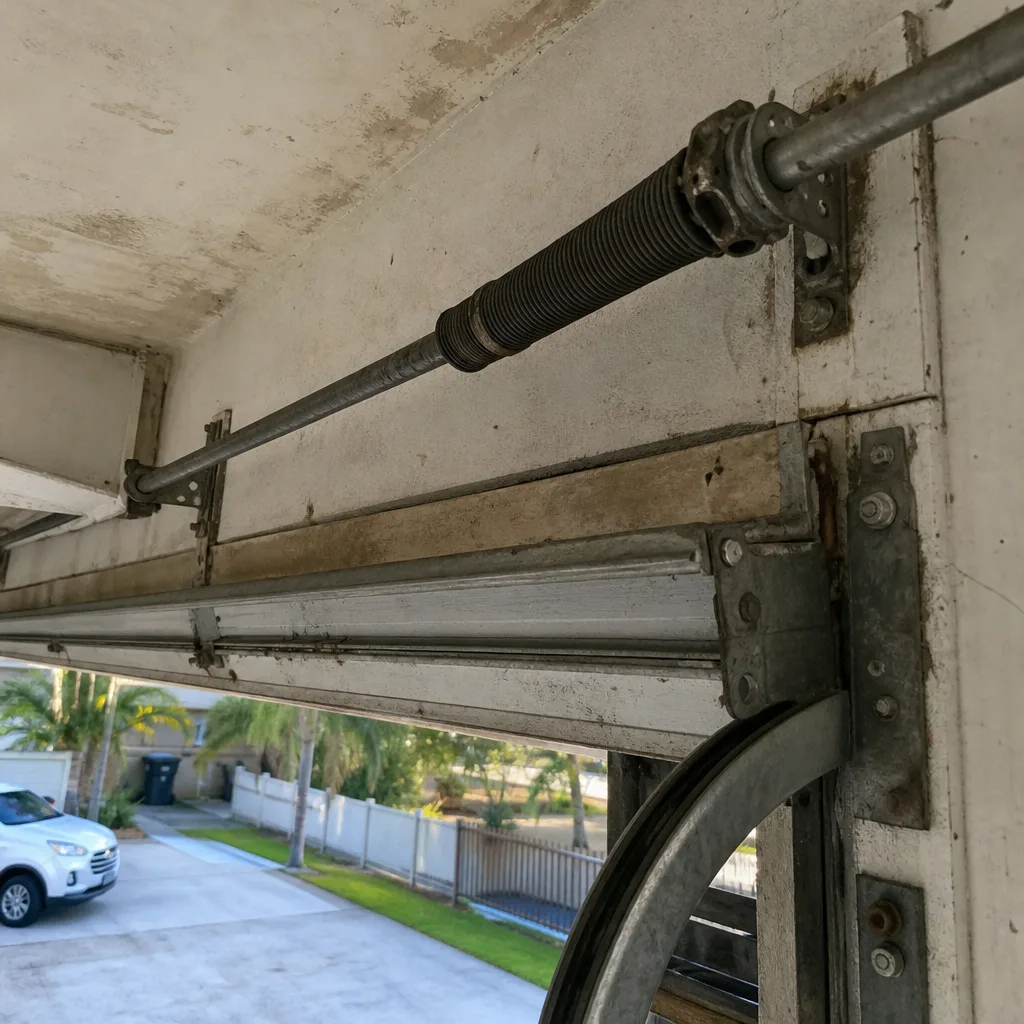 Before
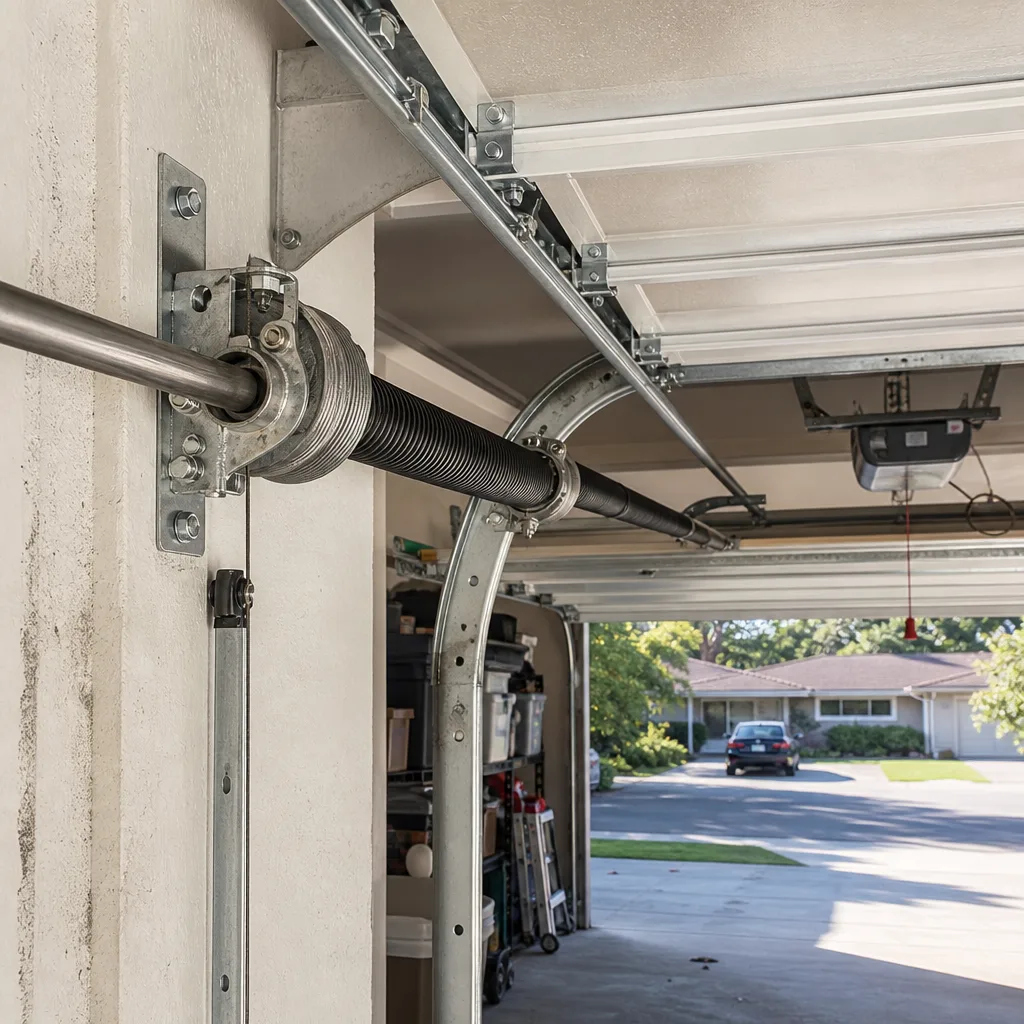 After
After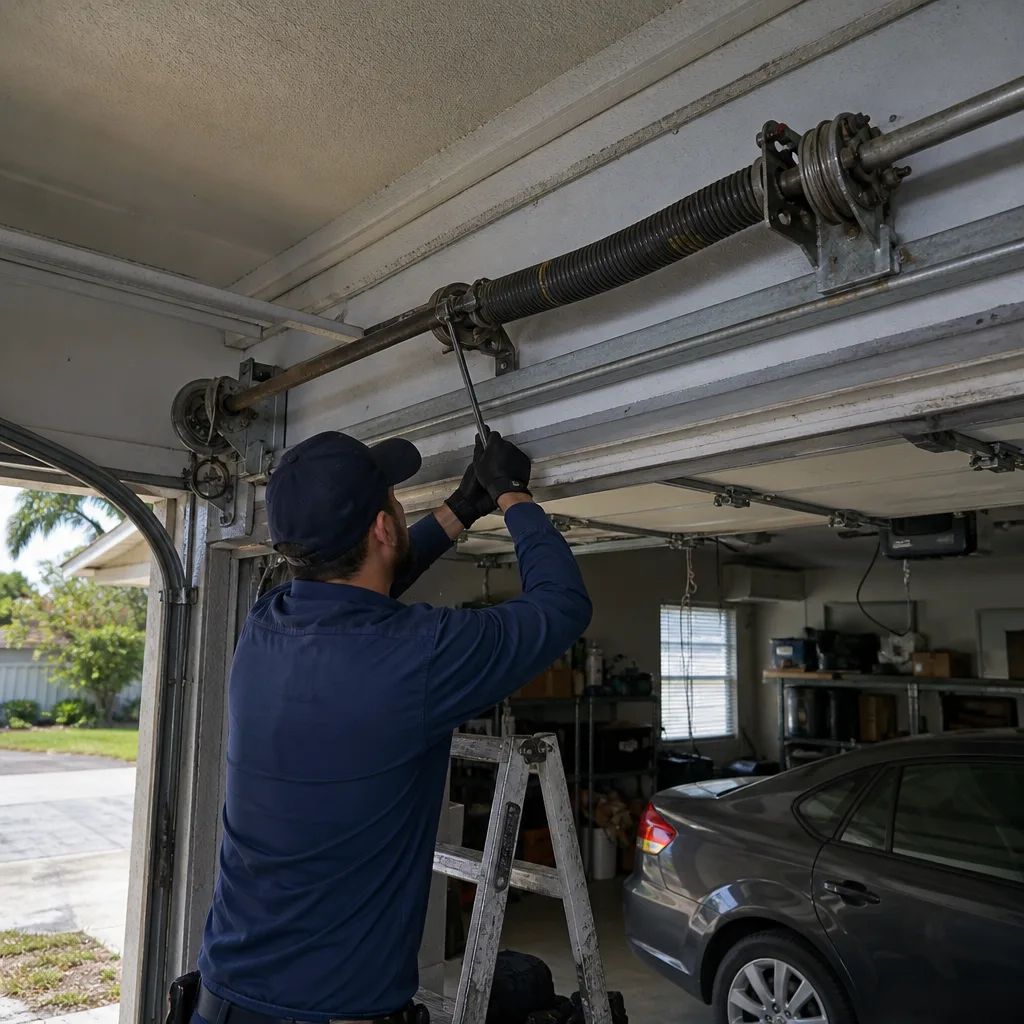 Before
 After
After Before
 After
After